Are you looking for a way to display random posts in WordPress?
Most of the times we focused on delivering content that the users will like – this includes popular posts and recent posts. But at the same time, it is a good idea to present some of your other content so that your audience can discover the other, not so popular side of your website.
This is where the Advanced Random Posts Widget comes into the picture.
What is Advanced Random Posts Widget?
Advanced Random Posts Widget is a WordPress plugin that gives you access to a dedicated widget which you can use to showcase random posts to your website users.
The widget comes with tons of settings and options giving you control over what type of posts/content you show to your users.
Here is a quick overview of the things you can do with the widget:
- Option to set a title URL.
- Display post thumbnail with customizable size and option to set custom alignment.
- Gives users an idea of the post by displaying post excerpts with customizable length.
- Display/hide posts based on categories, tags, and taxonomies.
- Choose to show/hide the post date.
- Choose to show/hide post type and status.
- Add custom CSS to tweak the look and feel of the widget.
So, as you can see, the plugin gives you access to a comprehensive list of controls over the widget. This gives you full autonomy over what type of posts are displayed so that no boring or inappropriate post is displayed “randomly” to the users.
How to Display Random Posts in WordPress
By now you should have a basic understanding of what is an Advanced Random Posts Widget, and all the features and functionalities it brings to the table.
So, with that out of the way, here is a step by step guide on how you can use the plugin to display random posts on your WordPress website.
Step 1: Installing the Plugin
First, you will need to install the plugin on your WordPress website. To do this, head over to your WordPress backend, and then from the left-hand sidebar go to Plugins > Add New.
Next, inside the provided search field, type in the plugin name – Advanced Random Posts Widget.
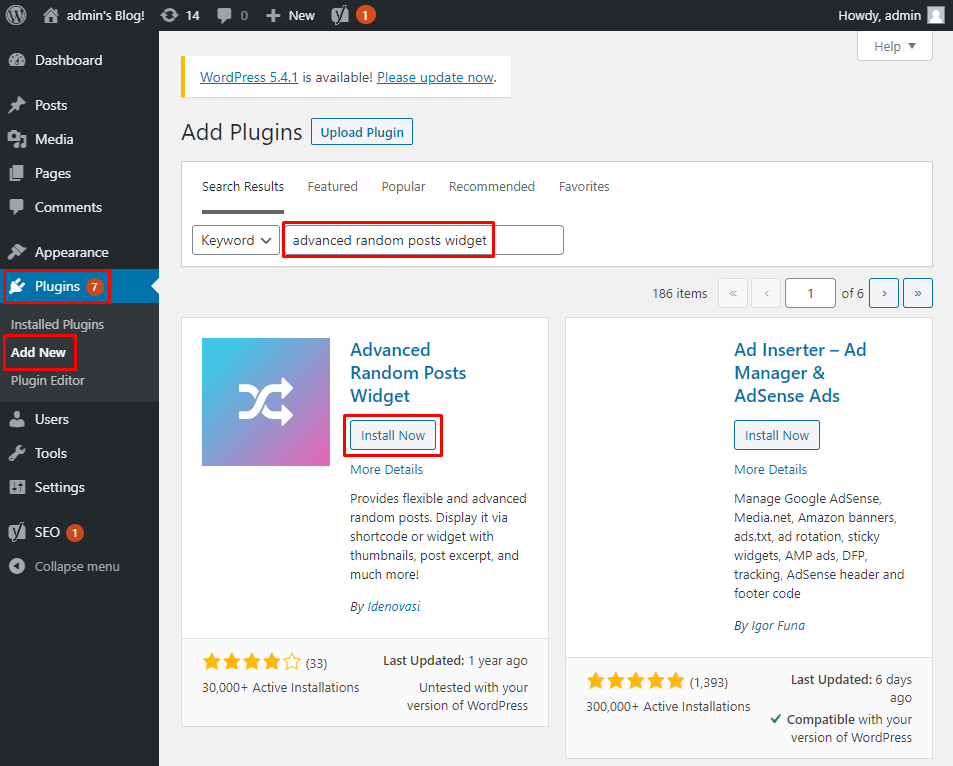
Now, as shown in the image, you will have to click on Install Now followed by Activate. Then the plugin will get installed on your WordPress website.
Step 2: Add Random Posts Widget to the Widget Area
With the plugin installed and activated on your website, it will add a new widget which you can use to display random posts to your readers.
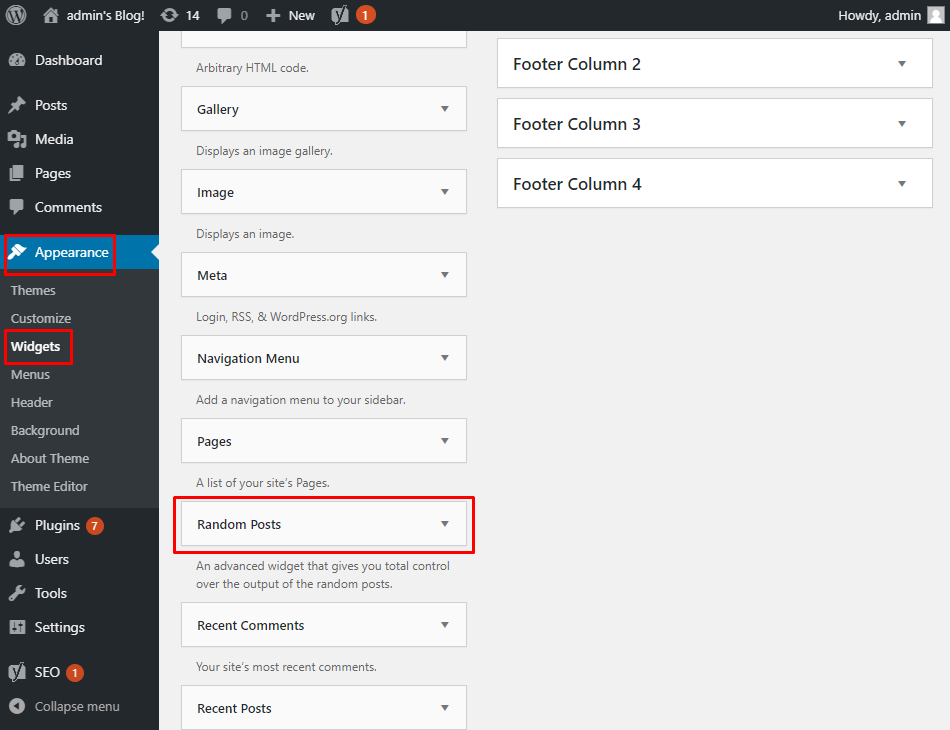
To access this widget, head on over to Appearance > Widgets from the left-hand sidebar. Scroll down until you locate the Random Posts widget as shown in the image.
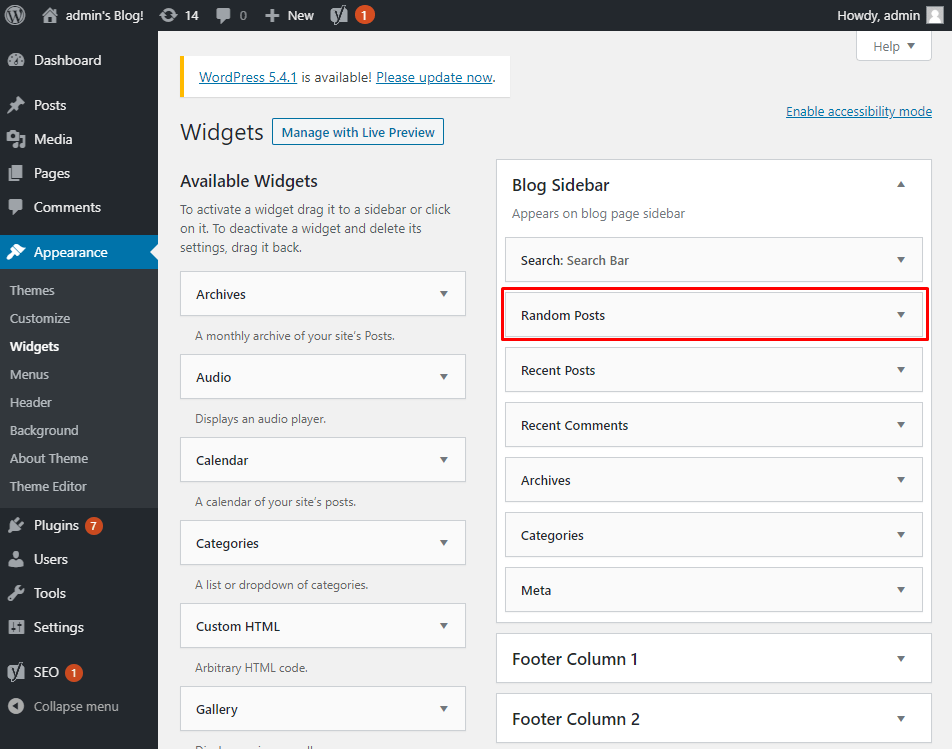
Next, you will need to drag and drop the random post widget to any of your available widget areas. Note that the number of available widget areas will vary depending on what WordPress theme you have installed.
For example, our test website has 5 widget areas – a blog sidebar, and a footer area divided into four columns to house the widgets.
For the sake of this tutorial, we will add the Random Posts widget to the Blog Sidebar.
Step 3: Setup The Widget
The widget comes with a lot of options giving you granular control over what posts you want to display. Just click on the small area button to the right of the widget, and it will expand to show you all the available options.
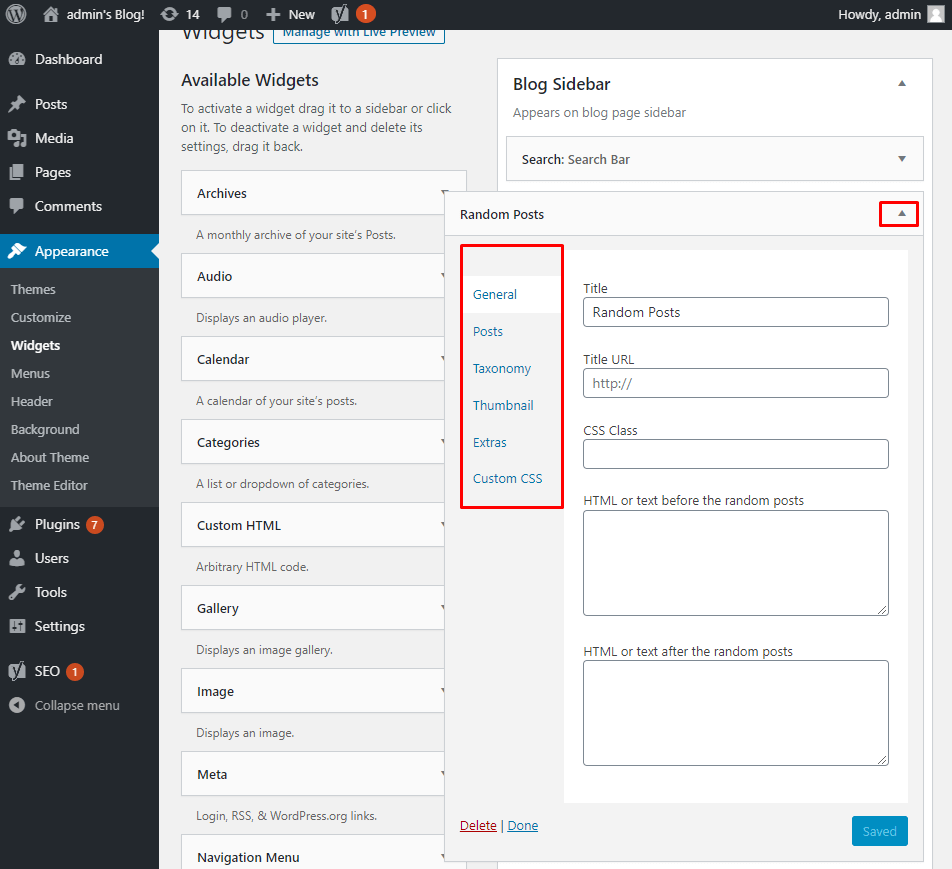
As you can see, all the options are neatly separated into different sections.
Here we have the General section which gives you the options below:
- Set a widget title
- Add a title URL
- Customize it using CSS Classes
- Add custom text or HTML before and after the random posts.
Next up, we have the Posts section.
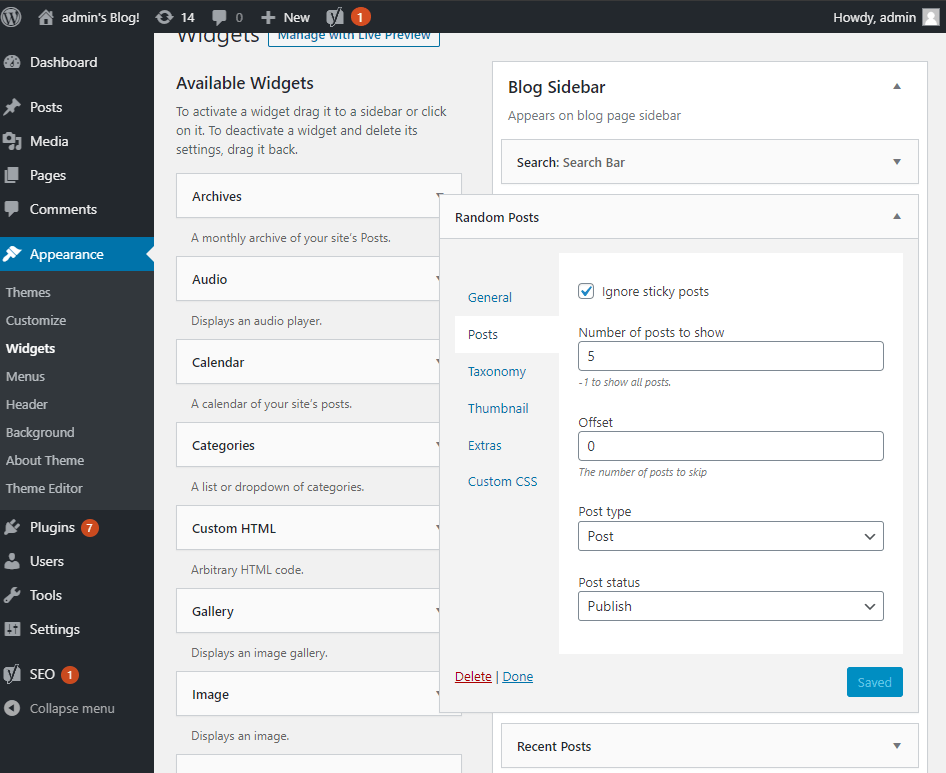
Here you get to configure how many posts you want to show in the widget, set an offset (number of posts to skip), and specify any custom post type that you wish to showcase using the widget.
Following this, we have the Taxonomy section.
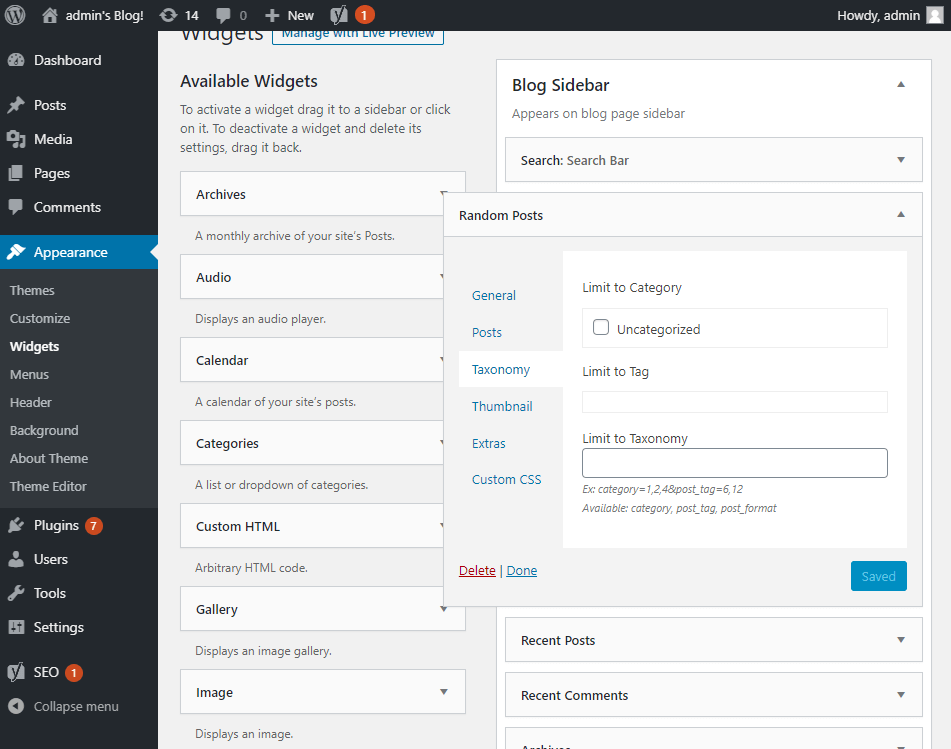
Here you can specify which posts you want to appear on the widget based on their categories, tags, and other taxonomy details.
Then comes the Thumbnail section.
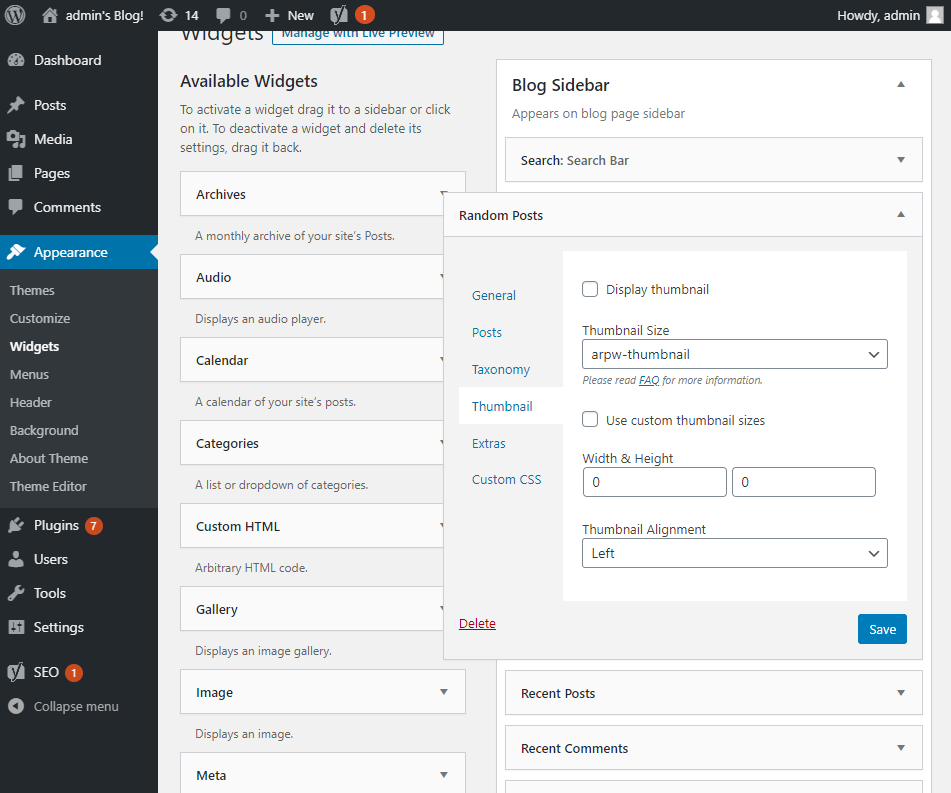
From here you can choose whether or not you want the thumbnails to appear along with the random posts in the widget.
Besides this, you can also set the thumbnail size, dimensions, and alignment.
After this, we have the Extras section.

Under here, you have access to all other misc settings. You can choose whether you want to display full posts, display the post excerpt, specify an excerpt length, display publish date, and the likes.
And finally, we have the Custom CSS section.
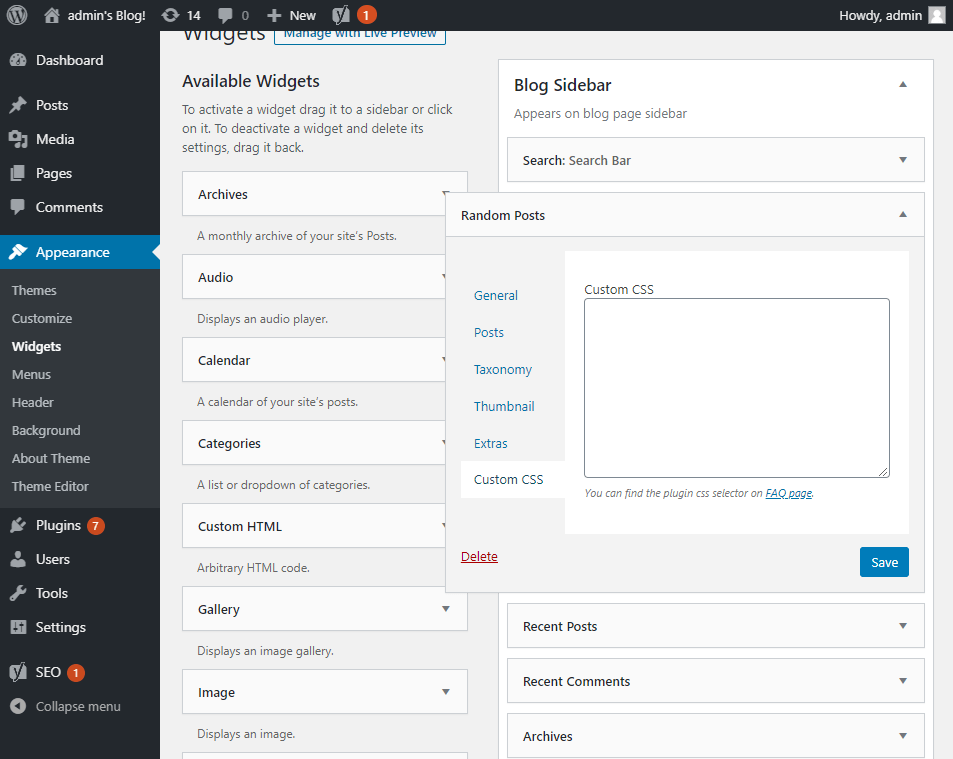
This is where you can enter any custom CSS code to control the look and feel of the random posts widget.
Once you have configured each of the settings according to your wish, you can click on ‘Save’ and then that’s it. The widget has been successfully configured and will now show random posts in your widget area.
Step 4: Front-end View
Here is a look at how the random posts widget looks from the front-end i.e. how users will see the widget.
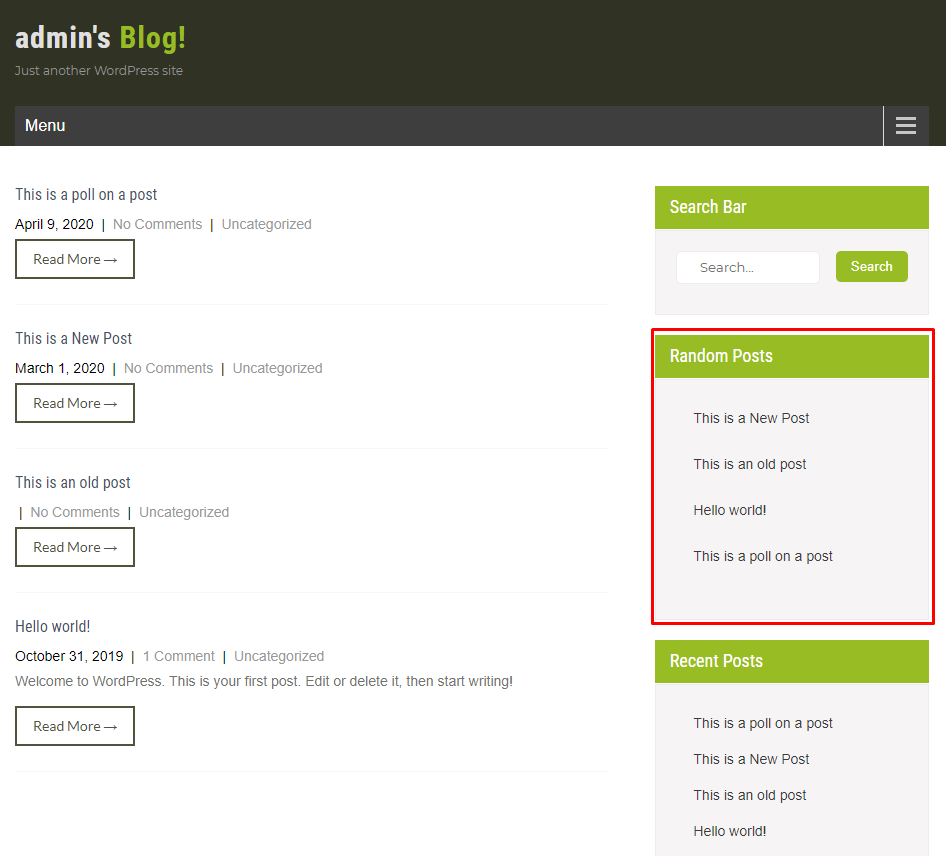
As you can see, the random posts widget is placed in the blog sidebar, right below the search bar widget and above the recent posts widget.
Users who are visiting your website and feeling a bit adventurous can easily view some random recommendations of preconfigured posts on your website.
As you can imagine, this will help you bring traffic to some of your posts that previously lacked an audience and might even increase your website engagement levels.
Wrapping Up
So this is how you can use the Advanced Random Posts Widget to help you display random posts on your WordPress website.
As you can see, it is super easy to use and offers an intuitive solution to display preconfigured, yet random, posts to engage visitors and potentially bring some traffic to your older posts.
You may also want to see our in-depth step by step guide on how to create custom RSS feed in WordPress.
0 Comments