Do you want to add store locator functionality on your WordPress website to let users know about the physical address of your brick-and-mortar store? If that’s the case, then you are in the right place.
Here we have put together a quick walkthrough of how to add store locator functionality in WordPress using the WP Store Locator plugin.
It is a totally free-to-use WordPress plugin that allows you to embed a Google Maps store locator directly in your posts and pages. You will also get access to tons of options that will let you control the overall user experience with the store locator.
How to Add a Google Maps Store Locator in WordPress
Despite being a free plugin, WP Store Locator comes with tons of advanced settings and options. As such, we have put together this detailed step-by-step tutorial to guide you through all the settings and help you add store locator functionality on your WordPress website.
Step 1: Installing the Plugin
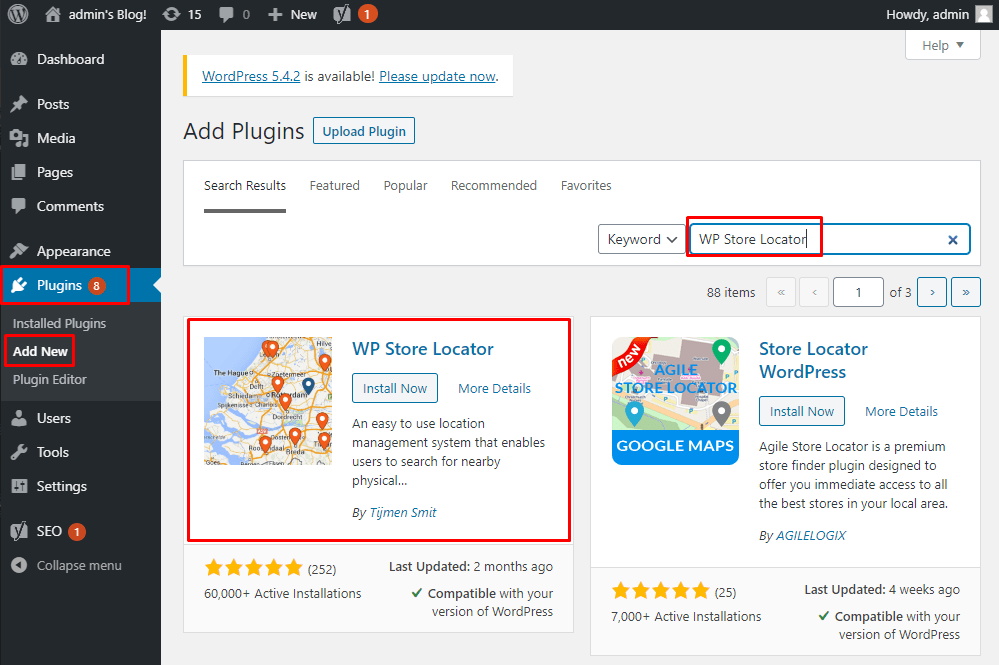
As always, the first thing you need to do is install the plugin. To do this, head on over to your WordPress backend dashboard, and then from the left-hand sidebar, go to Plugins > Add New.
From here, type in WP Store Locator in the search field and then click on Install Now followed by Activate as shown in the image.
With the plugin installed, it is time to move on to the next step.
Step 2: Configure the Plugin
With the plugin installed, you will see a new option – Store Locator pop-up on the lefthand sidebar of your WordPress Dashboard. Click on it, and it will take you to the following page.
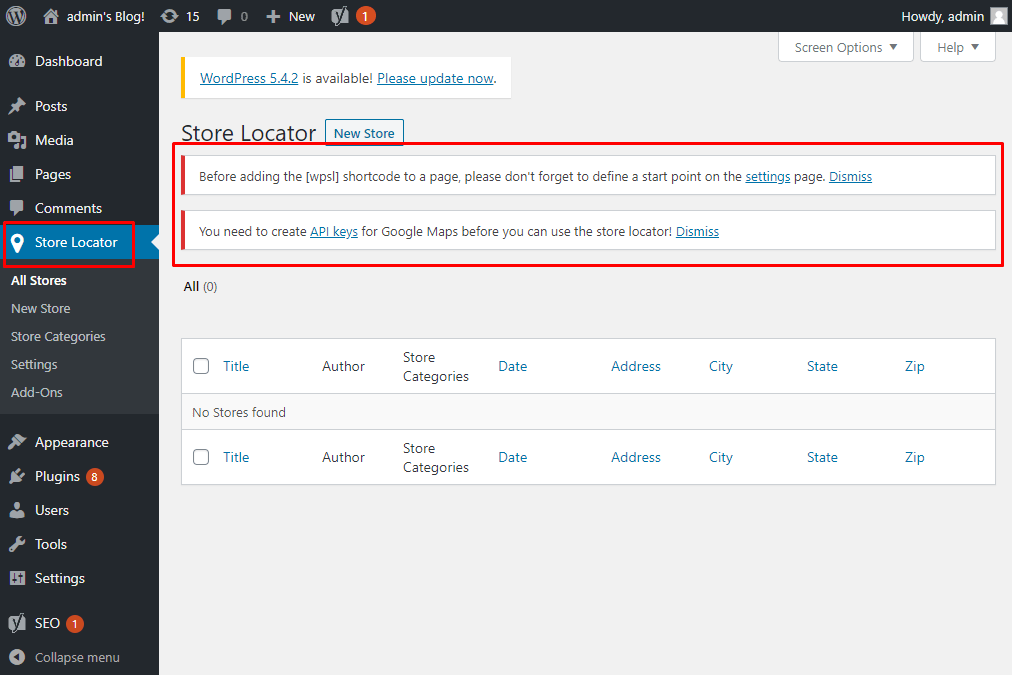
As you can see, before you start using the plugin, you need to:
- Create a Google Maps API key.
- Define a starting point for the map.
Now, in order to create a Google Maps API key, you can follow this guide here.
Once you have your API keys, it is time to head over to Store Locator > Settings and enter the Browser Key and the Server Key in their respective fields. Click the Show Response button to check if everything is working properly.
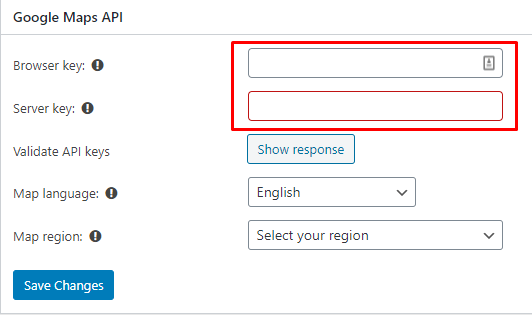
After entering the API keys, you can move on to configuring the other settings that comes with the plugin.
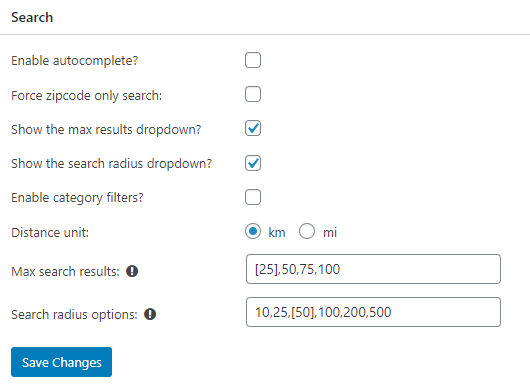
Starting out, you have the Search section, where you can control how the map search functionalities are handled.
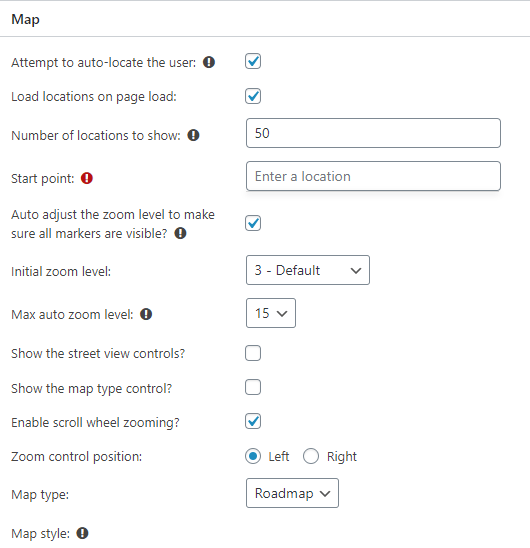
Up next, we have the Maps section. Here you can configure the map to auto-locate the user, enable/disable street view, provide zoom controls, and so on.
It is also from here that you need to set the “Start Point” as we discussed above. In case the user auto-location fails or is disabled, the start point will be the place that will load instead.
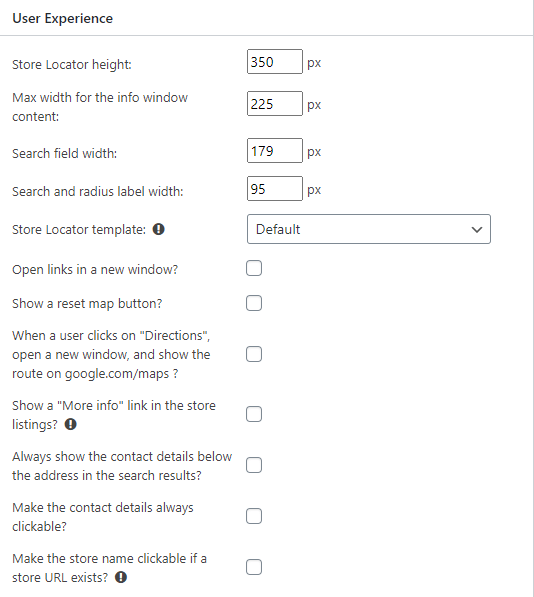
Following this, we have the User Experience section. Here you will find tons of options that will let you control the overall UI/UX of the store locator map.
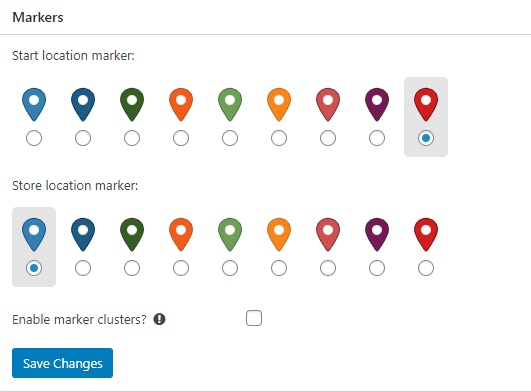
Next, we have the Markers section. It basically allows you to choose the map markers that will be used to identify your store location on the map.
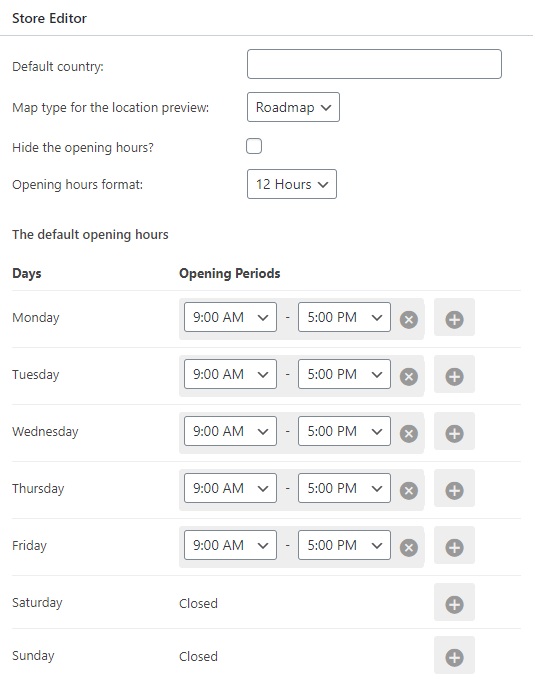
Then we have the Store Editor section. From here you are able to configure important information about your store including business hours and which days of the week you are open.
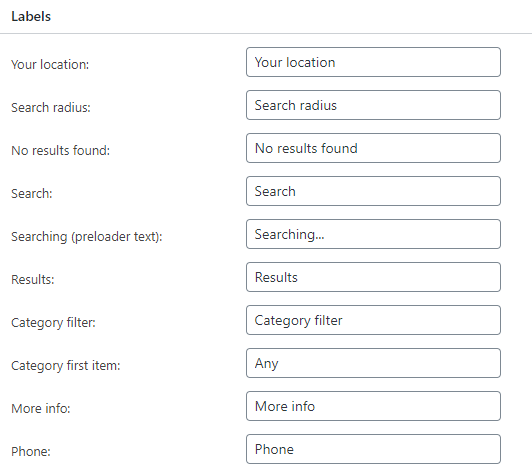
Scrolling further down will lead you to the Labels section. Here you can write custom names for the different labels that will be displayed on the map.
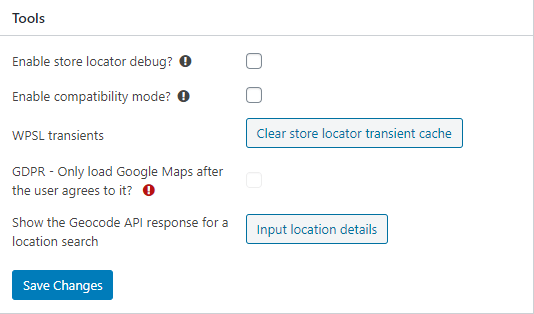
And finally, to wrap up the Settings page on the plugin, we have the Tools section. It gives you access to some debugging settings and compatibility options. You also get access to GDPR settings which prevents the maps from loading until the user agrees to it.
Now, once you have gone through all the settings and configured the plugin according to your needs, it is time that you add a store locator functionality.
Step 3: Create and Add a New Store Map
To create a new store map, head on over to Store Locator > New Store from the dashboard. This will take you to the following page:
As you can see, you will be able to add a title as well as a little description for the store. On further scrolling down, you will see a section for Store Details. The contents of the section are divided into three tabs – Location, Opening Hour, and Additional Information.
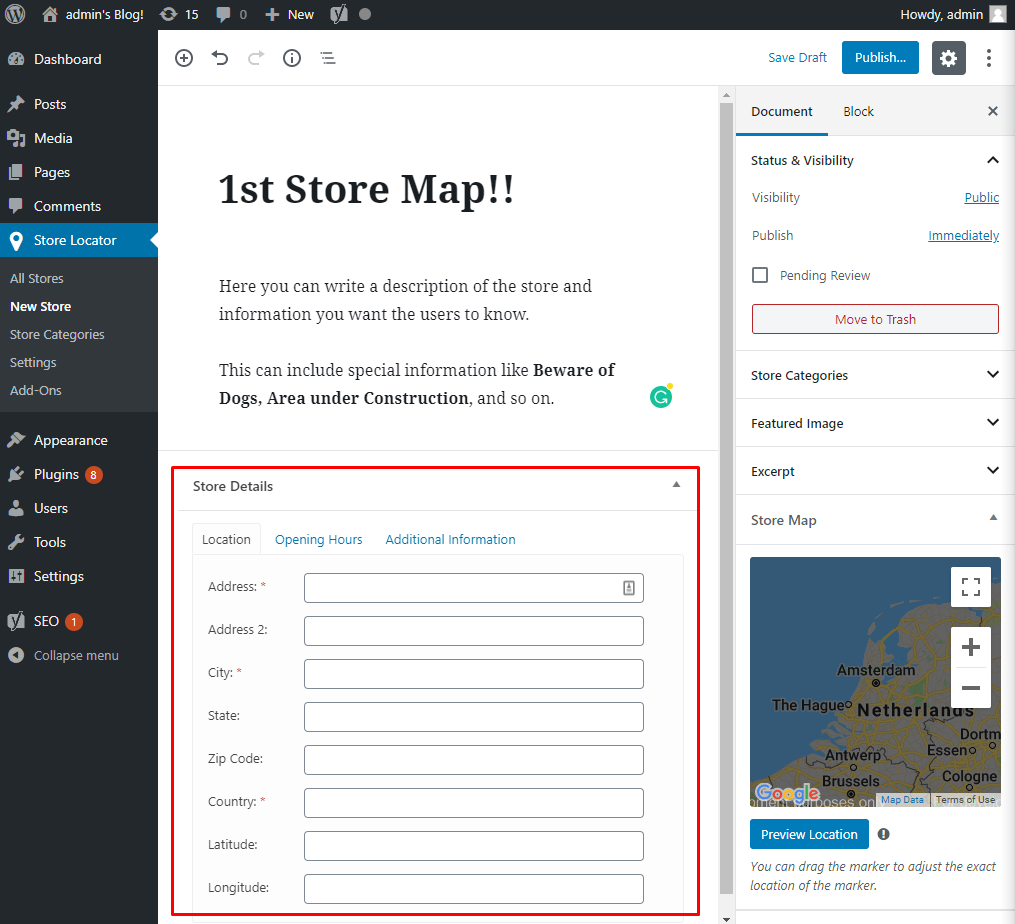
First, let’s go over the Location tab.
Here you will be able to enter the basic location information about the store including physical address, city, state, country, as well as longitudinal and latitudinal coordinates.
Once done, you can move on to the Open Hours tab.
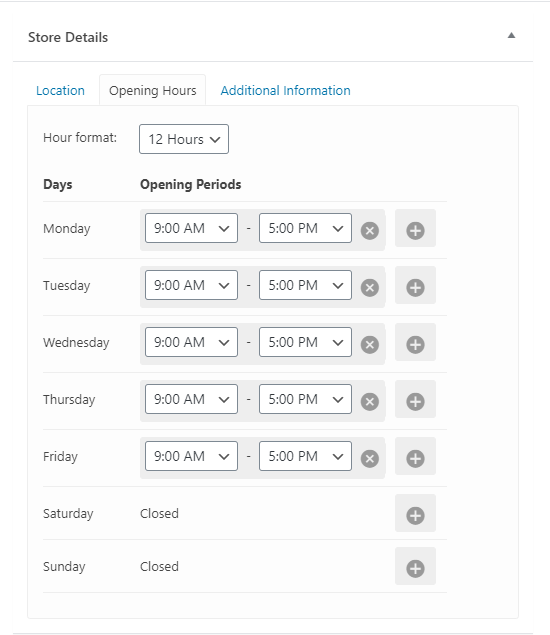
As you might remember, we have configured the default open hours directly in the plugin Settings. However, if you have multiple stores that have different business hours, then you can use this tab to enter custom open hours for the particular store locator you are creating.
Moving on, we go to the Additional Information tab.
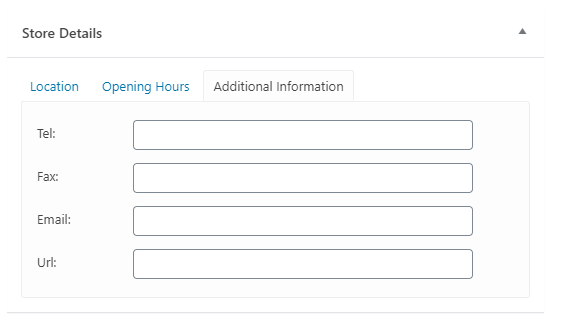
From here, you can add contact information about your store. This includes stuff like:
- Phone number.
- Fax number.
- Email Address.
- Website URL.
Now, after you are done creating the new Store Location Map, you can check the right-hand sidebar to see if the Store Map preview is showing the correct location.
Once done, click on the Publish button, and the new store map is ready to be added to your WordPress website.
All you have to do is go to (or create) a post or page, open a new “Shortcode” block and paste the [wpls] shortcode. The store locator map has been now enabled on the page and ready for users.
Conclusion
So this was our quick guide on how to add Google Maps store locator in WordPress. We hope you found the read to be useful and that it helped you to add the store locator functionality on your website.
As you can see, the plugin offers tons of options to help you create a detailed store map. And thanks to shortcode support, you are free to embed the map on any post or page.
You may also want to see our handpicked list of eight best WordPress page builder plugins.
0 Comments