Adding Google AMP to your WordPress site can change how your website is served on mobile pages.
Google AMP stands for Accelerated Mobile Pages which improves the loading speed of pages on mobile devices.
There is no doubt that hand-held mobile devices are the future. By integrating Google AMP to your WordPress site, you can increase your traffic by improving user experience.
In this article, we will look at the tutorial of adding Google AMP to a WordPress site.
What is Google AMP?
Before we get started, we need to learn exactly what is Google AMP.
Google AMP means Accelerated Mobile Pages. Google and Twitter support technology. Also, it is open source in nature. With AMP, the goal is to make sure that the web content on mobile devices loads faster.
Mobile devices are not made to load full pages. That’s where responsive layout comes in. Also, mobile devices tend to load pages slowly as the rich pages take time to load. This is all after the site owner has taken all the important steps to make sure that the site loads faster.
So, how does AMP makes web pages load faster on mobile devices?
AMP does it by loading the bare minimal JavaScript and HTML for the pages. By doing so, Google AMP cache comes into play, as the files are hosted on it.
Once cached, the pages can be delivered instantly to the users giving the much-needed speed boost to the sites using AMP. If you want a comparision, then you can take a look at Facebook Instant Articles. They work similarly but are limited to the Facebook platform only.
This leads us to another important feature of AMP, i.e., platform-agnostic. It means that the pages can be served through different interfaces including web viewer, app browser and so on.
Pros and Cons of Google AMP
Google AMP undoubtedly has its own advantages. After all, it enables you to serve pages at a better loading time to users. Also, many SEO experts, claims that using AMP can improve SEO ratings.
But, that doesn’t mean that AMP doesn’t come with cons. For example, you cannot add certain features and widgets to your AMP powered site. It also has limitations to adding opt-in forms and dynamic scripts to your site.
With AMP, you can use Google Analytics only. So, if you want to use other analytics platforms, then AMP might not be the best fit. This also limits advertising opportunities for you.
Other key problems that are shared on the web include that AMP is not suited for every site. In some cases, sites lose traffic after enabling it. Moreover, if you want to decide to not use AMP in the future, it can lead to 301 redirects.
How to Add Google AMP to WordPress Site
If you have made up your mind and want to add Google AMP to your WordPress site, let’s get started with the process of adding Google AMP to your site.
We are going to use AMP for WP – Accelerated Mobile Pages WordPress plugin.
The plugin is popular with 100K+ active installations. It is also feature-rich and comes in free and PRO versions.
For your purpose, you can use a free version to get started.
To install the plugin, you need to download the plugin from the link and then install it on your site. You can also directly install to your WordPress site by going to Plugins > Add New. There search for ‘AMP for WP’.
Once installed, you will be greeted with the welcome message. You will also see a question what view you prefer: basic or advanced, you can choose the desired one.

For now, let’s choose basic for beginners.
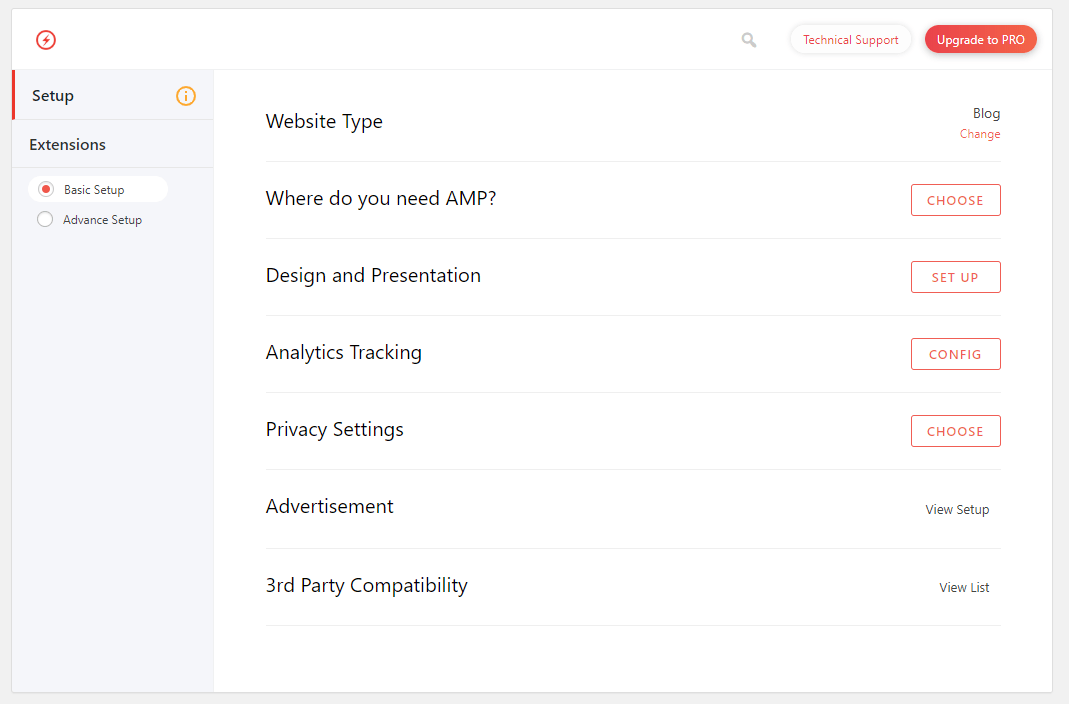
You will now see a list of options. Let’s get started with each one of them.
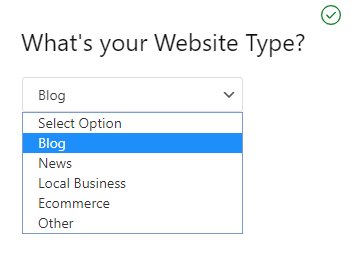
The first thing that we will do is to select the website type. Once you click on it, you will see the following options:
- Blog
- News
- Local Business
- Ecommerce
- Other
Once set, let’s move on to the other option, “Where do you need AMP?” This is where you will be able to choose which section of your site you want AMP enabled. Choose the options:

Next, you need to set the design and presentation.

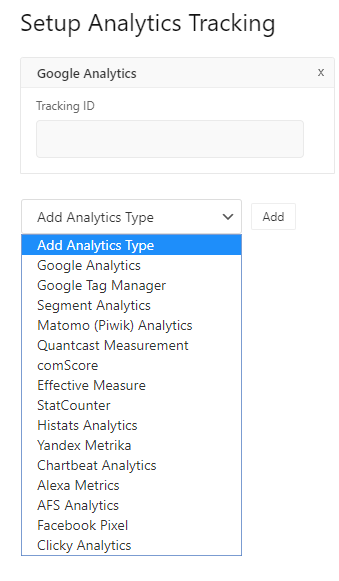
Now, we need to set analytics tracking. This is important as it will help you get information about the site.
Unlike the official AMP app, you can set the analytic tracking to your choice.
The last thing that you need to do is set privacy settings. Here, you can set GDPR and also set a cookie notice bar on your AMP-enabled pages and posts.
Congratulations, you can successfully add the Google AMP to your WordPress site.
You can also check out an advanced setup of the plugin.
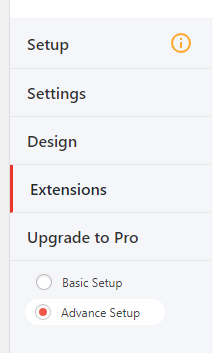
Once you click on it, you will see new options that you can use to customize AMP on your site.
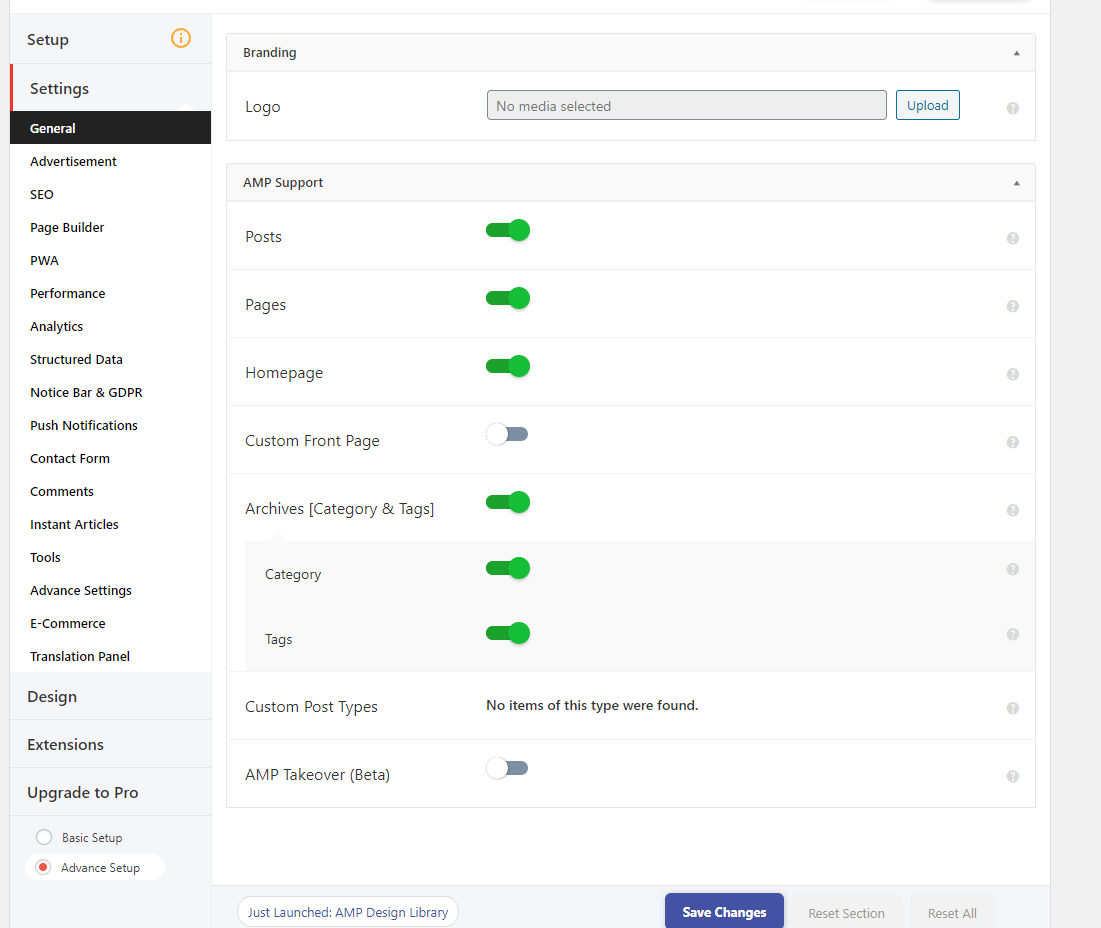
You can also check the Pro version which offers more features.

Futhermore, you can also explore their extensions.

This will help you customize your AMP according to platforms.
Conclusion
This leads us to the end of our tutorial on how to add Google AMP to your WordPress site. We went through the basic definition of Google AMP, and then also understood the pros and cons of using it.
So, did your Google AMP storage went smoothly? Comment below and let us know.
You may also want to see our step by step guide on how to add Facebook comments to WordPress site.
0 Comments