Are you wondering how to create an image gallery in WordPress? To create a photo gallery is a best option when you add multiple images into WordPress pages and posts. In this article, I will show you how to create an image gallery in WordPress with two different methods.
1. Create an image gallery with WordPress built-in feature
WordPress has a built-in feature which allows you to create an image gallery. With the help of this feature, you can add an image galllery in WordPress in a few clicks.
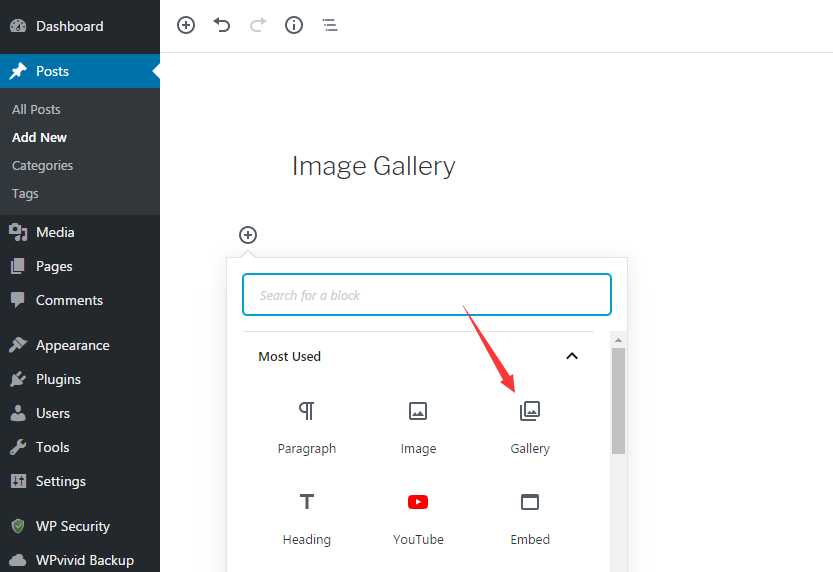
Simply edit the post or page where you want to add an image gallery. Then click on Add New icon and select Gallery block.
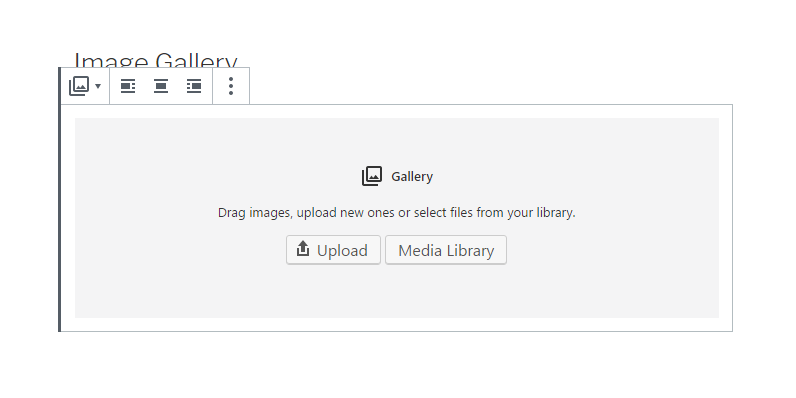
After that, you will see a gallery block added on post edit section. There are two options available to upload the images. You can either upload the images from your computer by clicking on Upload button or use the previously uploaded images from Media Library by clicking on Media Library button.
Uploading the images from computer
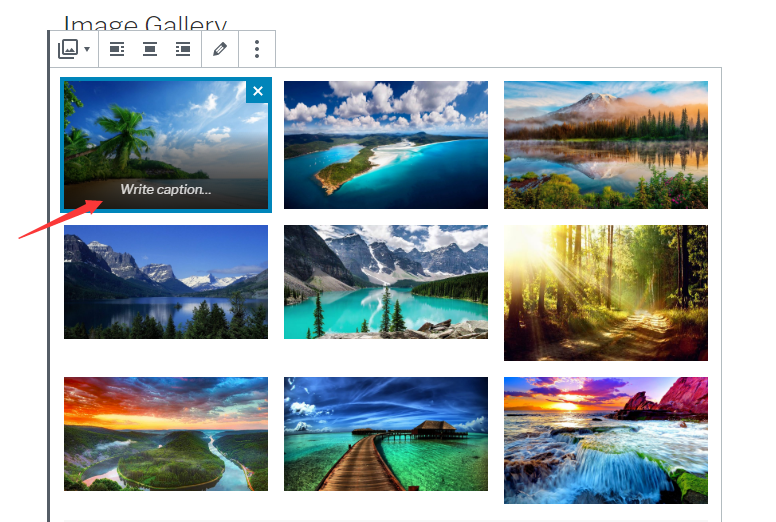
If you wish to upload images from your computer, click on Upload button and select your images from your image folder. After uploading images from your computer, the selected images are displayed in gallery block. Moreover, you can click on each photo and write caption for images.
Using the images in Media Library
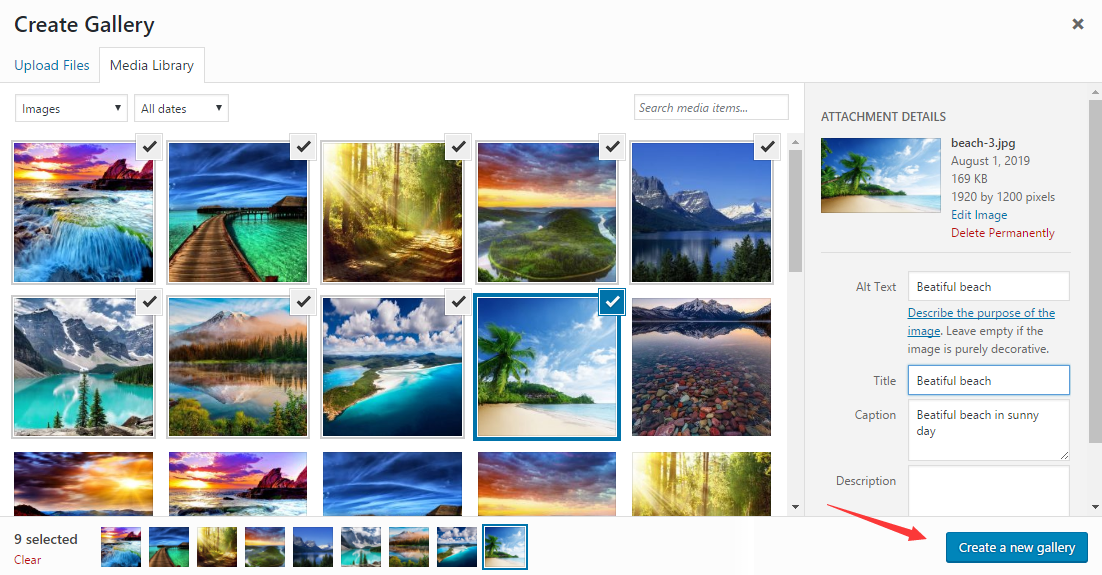
If you want to use the images from media library, simply click on Media Library button. Then you choose your desired images and enter the detailed information of each image in attachment details panel, such as alt text, title, caption and description. Once done, click on Create a new gallery button.
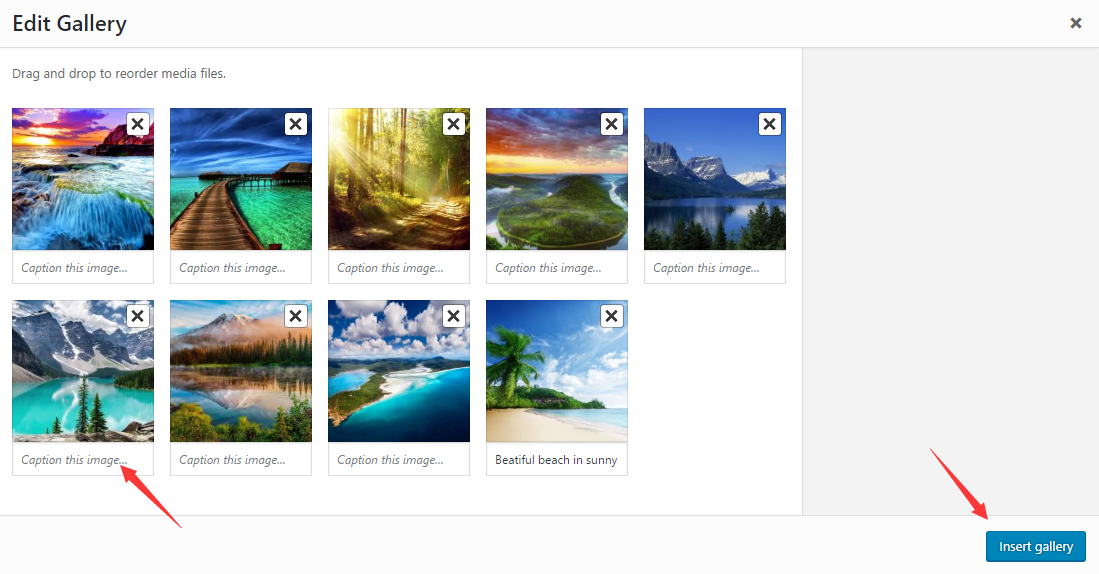
Next, you will see Edit Gallery page and can delete the selected images, also add or change the image caption here. Lastly, click on Insert Gallery button.
After that, you will see the image gallery with gallery settings panel on post edit section. You can set the number of columns, toggle crop images and decide where to link to.
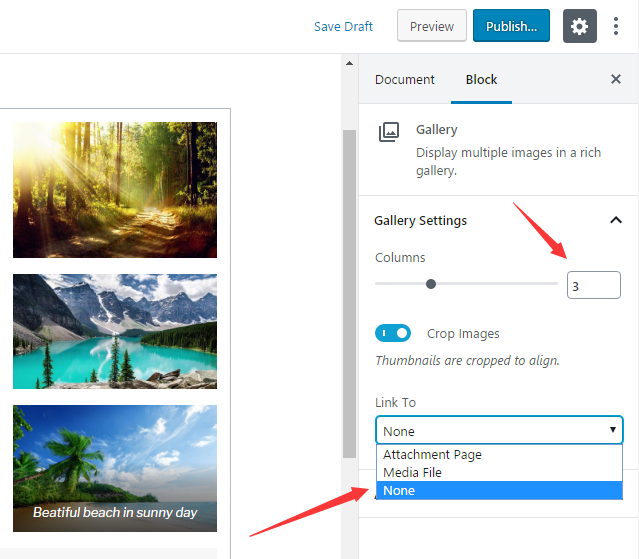
There are three options availble to choose in Link to menu. If you choose None option, the image won’t be clickable after published and displayed as thumbnails.
If you select Media File option, the photo is clickable and is displayed with the original size when clicked. While you choose Attachment Page option, the attachment page will show when clicked.
Once all is done, click on Publish button and see the gallery on your live site.
2. Create an image gallery in WordPress with NextGen Gallery plugin
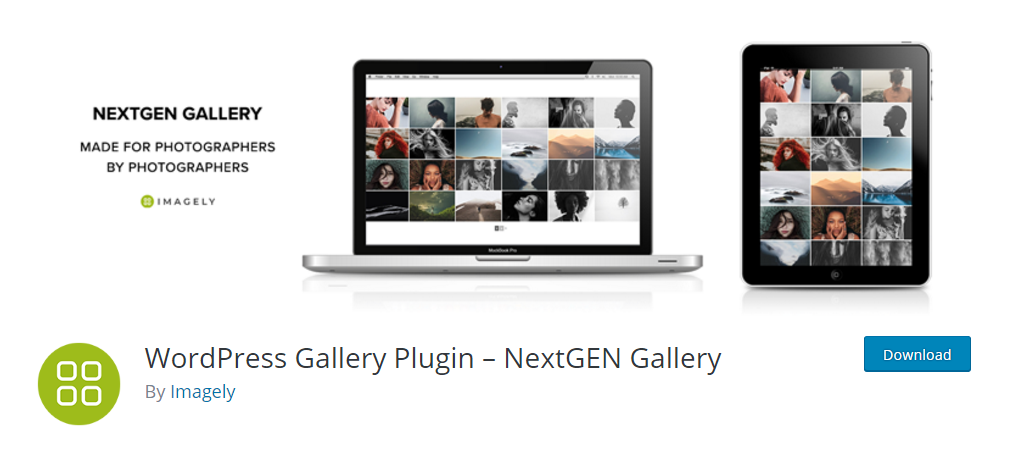
There are many WordPress gallery solutions out there. However, I will use NextGen Gallery plugin. It is the most popular gallery plugin in WordPress plugin repository.
First thing you need to do is install and activate NextGen Gallery plugin. For more details, see our step by step guide on how to install WordPress plugin.
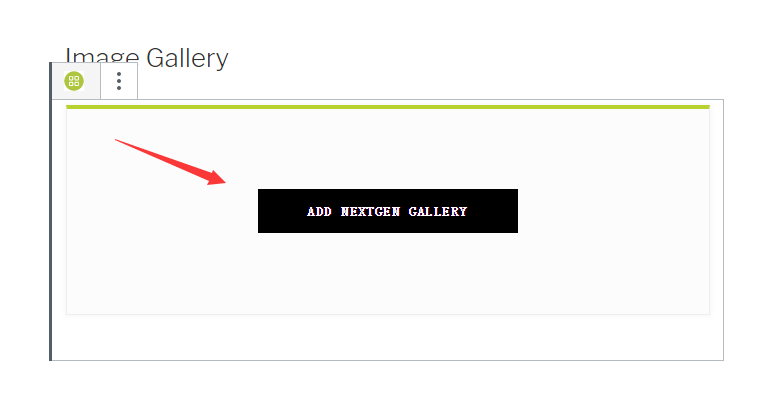
Upon activation, simply edit the post or page in which you wish to add a photo gallery. Then click on Add New icon and select NextGen Gallery block.
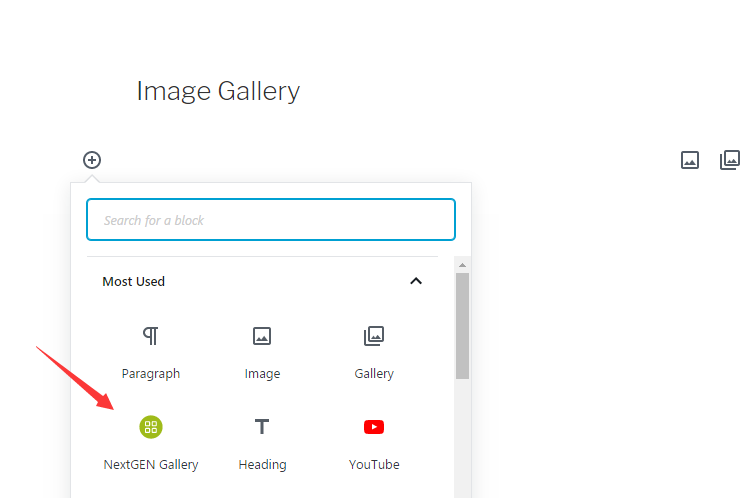
This will add a NextGen Gallery block in post edit section. Then click on Add NextGen Gallery button to continue.
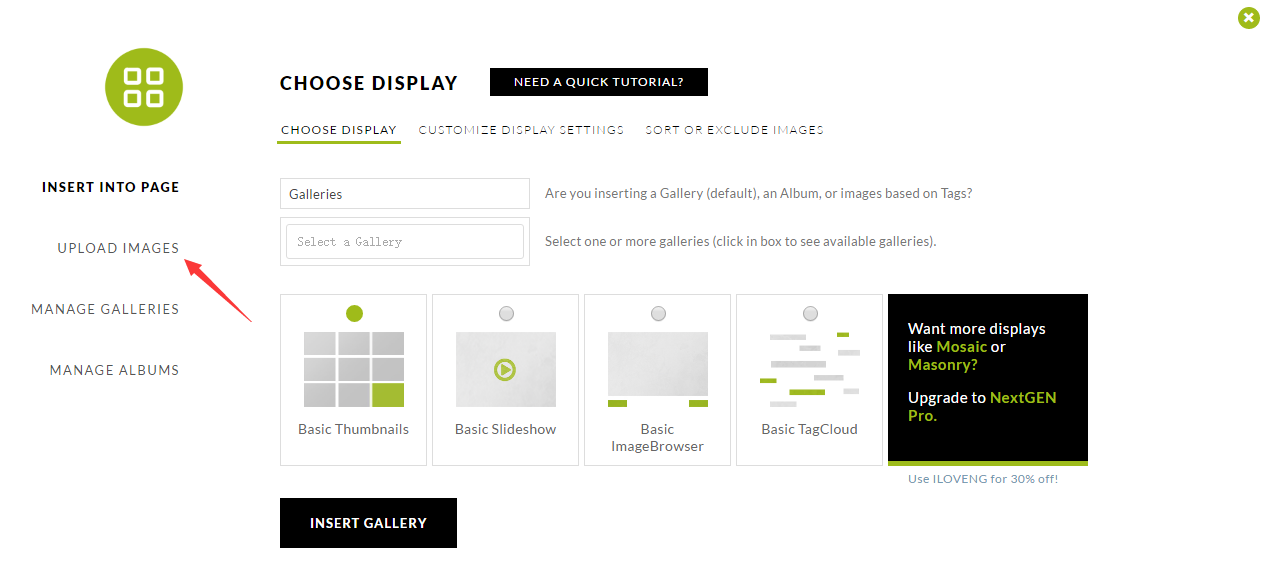
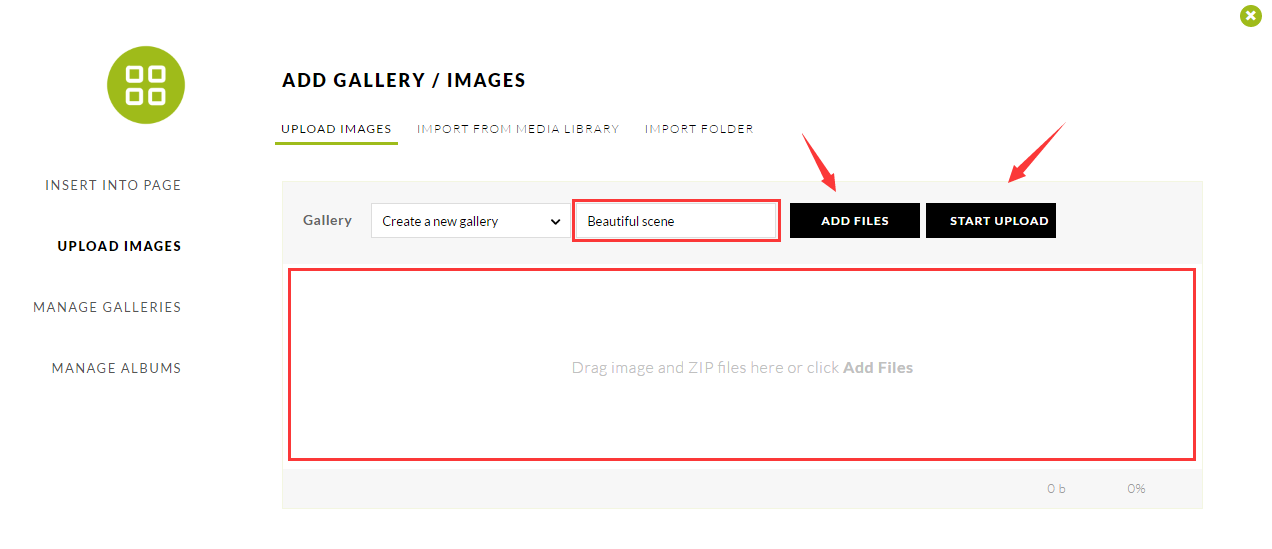
This will bring you to NextGen Gallery page. In this page, you click on Upload images option in the left menu bar.
After that, you are required to provide a name for your gallery. If you upload images from your computer, you either click on Add Files button or drag and drop the images to upload images. Then click on Start Upload button to continue.
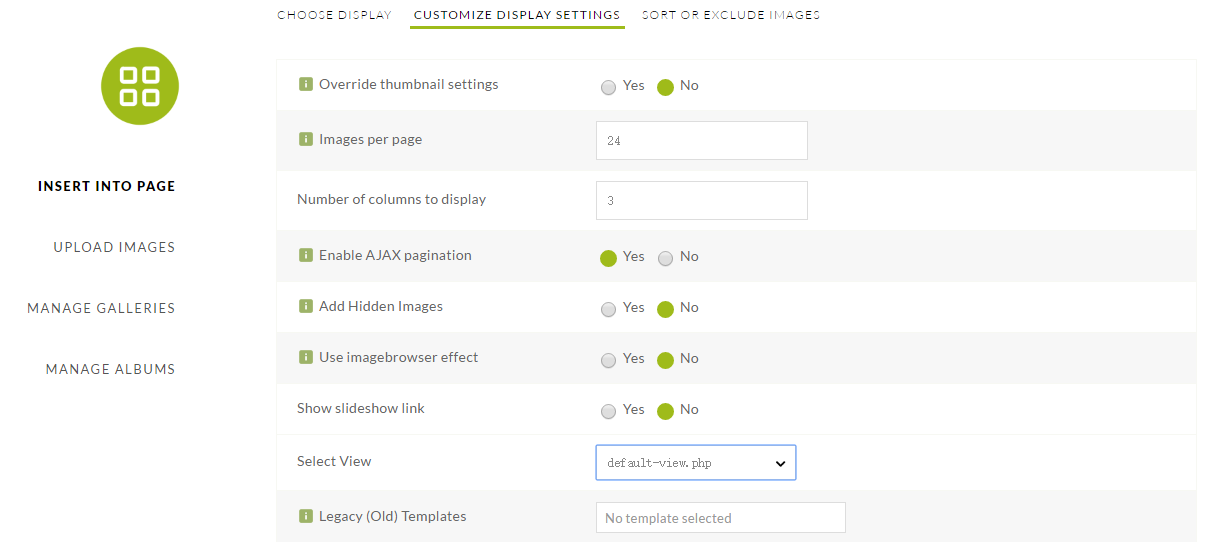
Next, simply click on Insert into Page option in the left menu bar. Then,select your created gallery and gallery layout. By default, the plugin selects Basic Thumbnails layout. If you upgrade to pro version, more gallery layout are availble to use. Once all done, click on Insert Gallery button.
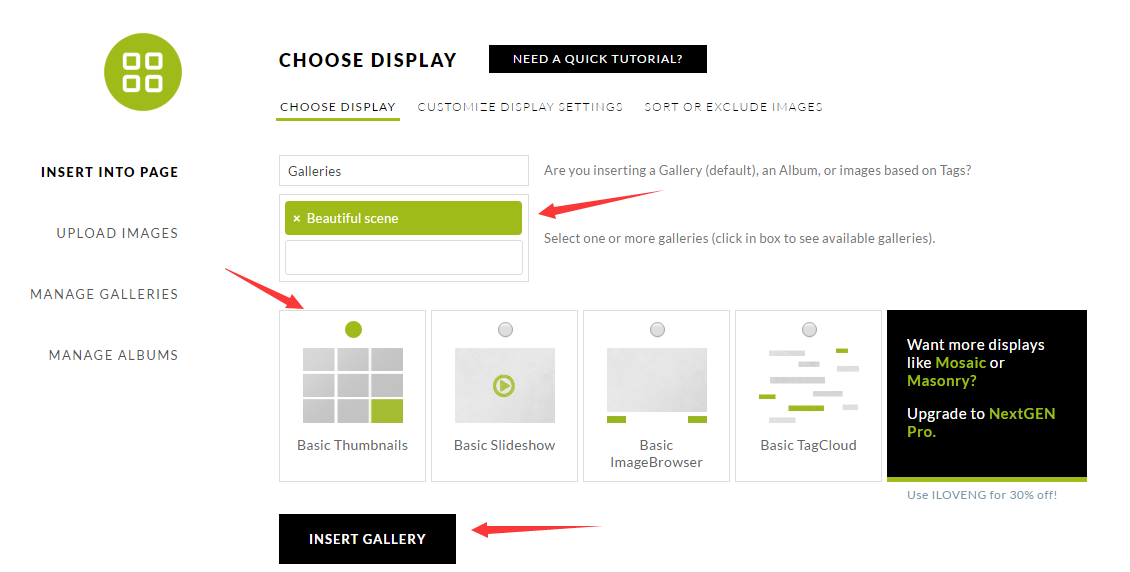
In addition, you are able to customize gallery layout in Customize Display Settings.
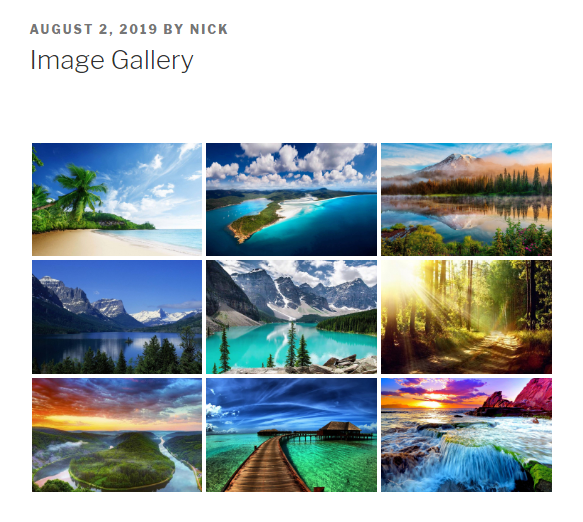
Now, you can publish your post or page and preview your gallery on your live site.
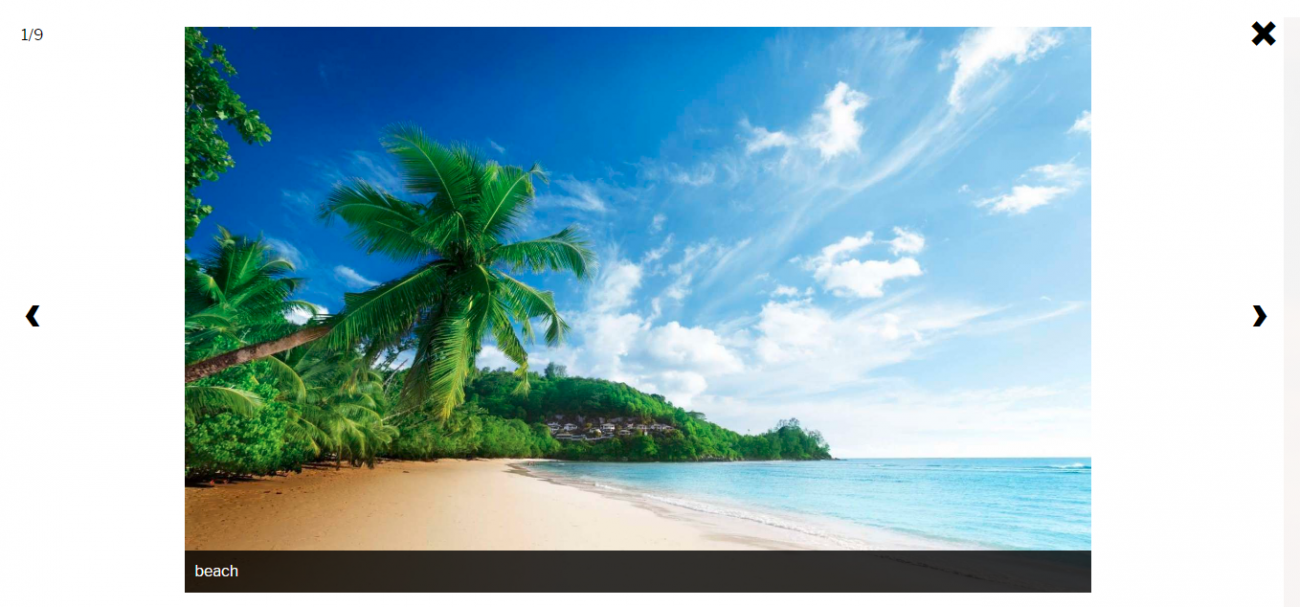
When clicked on any images, they will display in the lightbox popup. You can browse images by clicking on either left-right arrows on the screen or left-right keys on your keyboard.
I hope this article helped you learn how to create an image gallery in WordPress. You may also want to see our setp by step guide on how to open external links in a new window in WordPress.
0 Comments