If you post a long article on your website, a table of contents can help the readers know your article’s structure and easily navigate to the section they are interested in. In this article, I will show you how to add a table of contents to WordPress posts and pages without using any HTML and CSS.
Creating a table of contents in WordPress

There are many plugins for creating a table of contents in WordPress. However, Easy Table of Contents plugin is an elegant solution.
First thing you need to do is to install and activate Easy Table of Contents plugin. For more details, please see our setp by step guide on how to install WordPress plugin.
Upon activation, head over to Settings > Table of Contents. You will find out that Table of Contents page composes three parts: General settings, Appearance and Advanced settings.
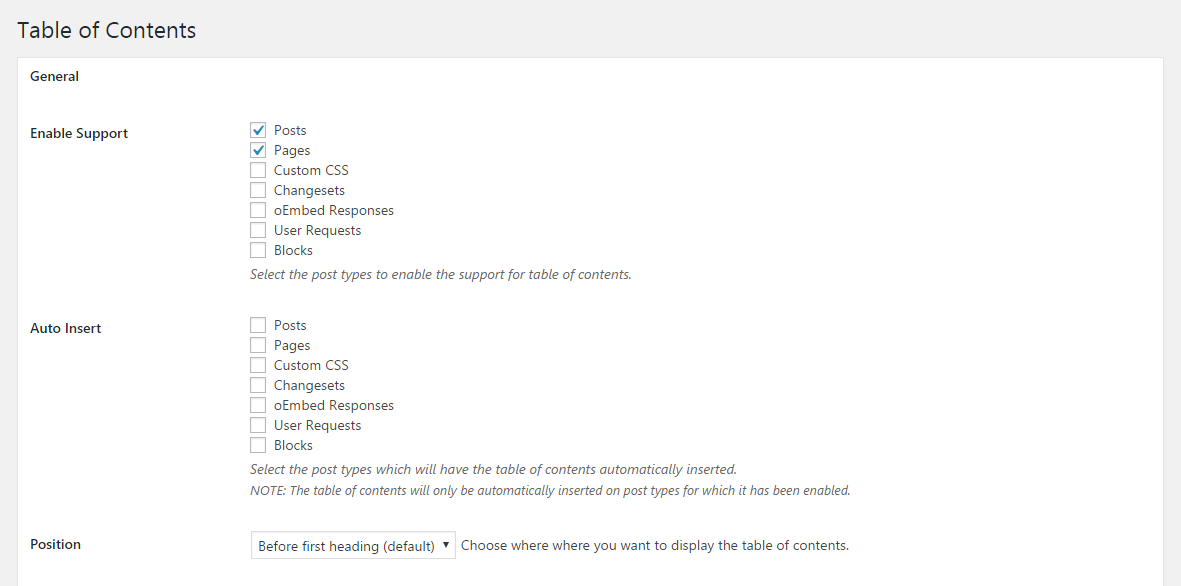
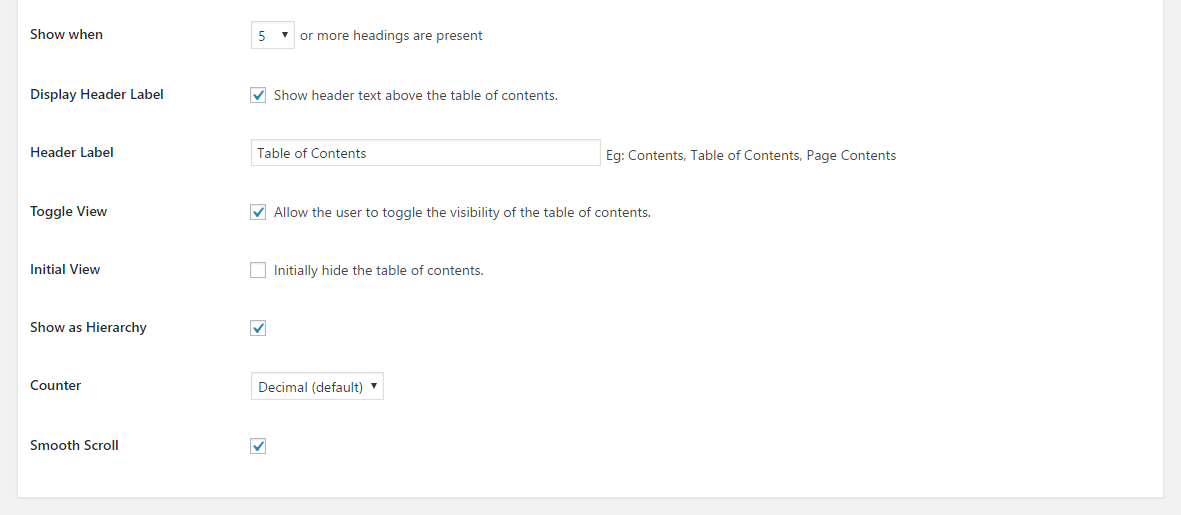
In general settings, it allows you to select where to display the table of contents, enable the auto insert, the position for table of contents, header lable and more. You can set up these configuration as you needed.
Generally, I don’t recommend you to enbale Auto insert to insert a table of contents into your each post and page. Unless your every post and page has really long contents.
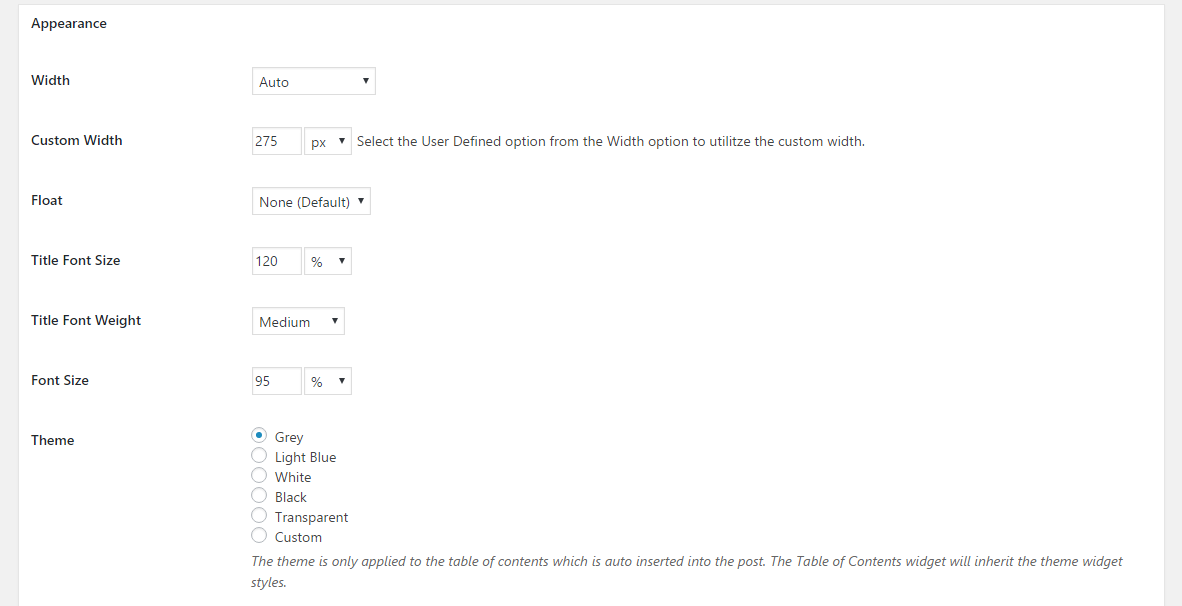

Next, you can custom the table of contents in Appearance settings. The width, font size, and theme are customizable. Depending on your needs, you can create an unique table of content.
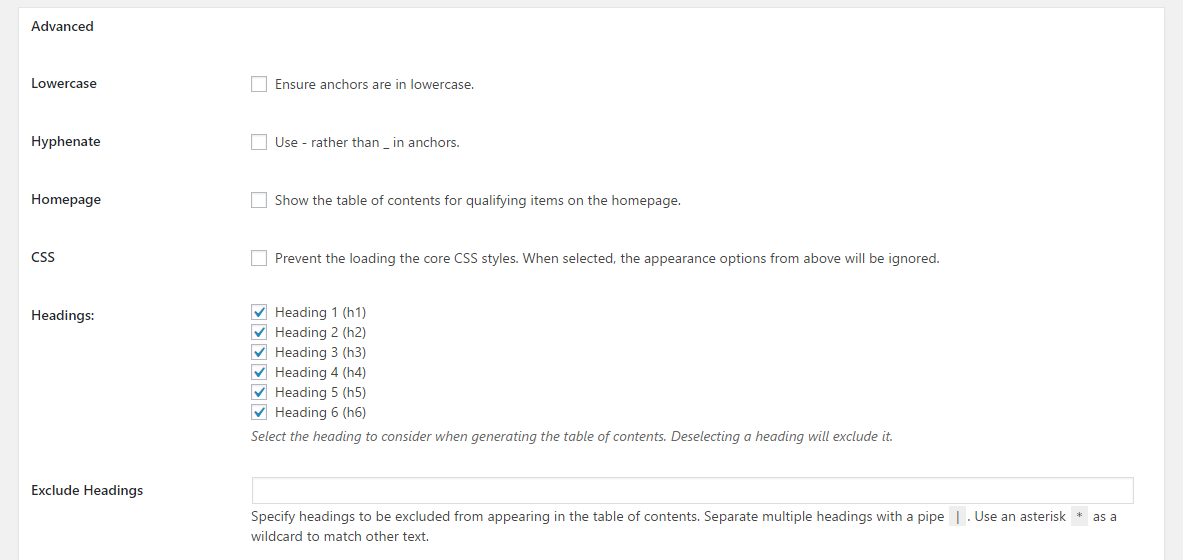
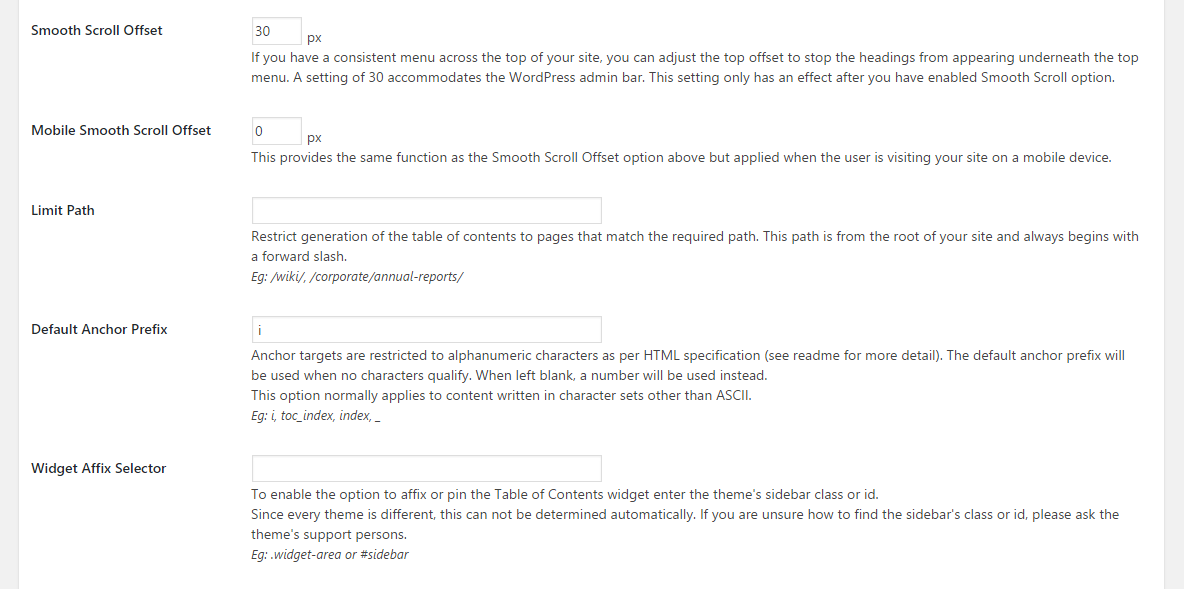
In Adavanced settings, you can make the anchors are in lowercase, select the headings to consider when generating the table of contents. Also, you can set up the other options depending on your case. However, you don’t need to configure the rest of settings in most cases.
Once all done, click on Save Changes button.
Adding a table of contents to WordPress posts and pages
If you have enable Auto Insert option in general settings, the plugin will insert the table of contents automatically based on your settings. If not, head over to the post or page you want to add the table of contents.
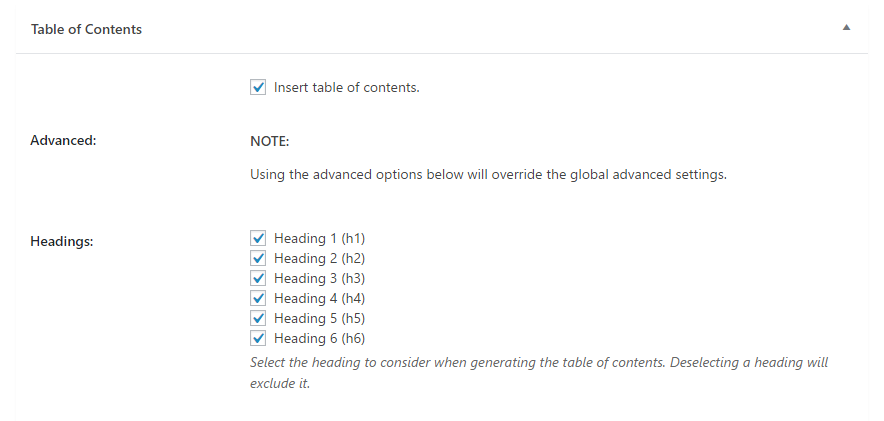
On the bottom of the post edit screen, you click on the option of ‘Insert table of contents’ and can select which headings use for the table of contents. Then update your post.
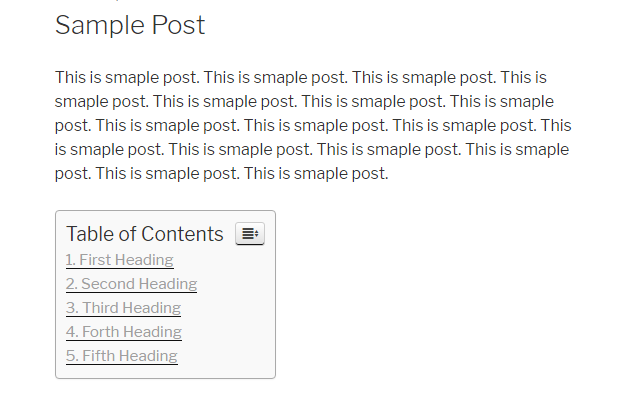
Once update, you will see the table of contents inserted in this post.
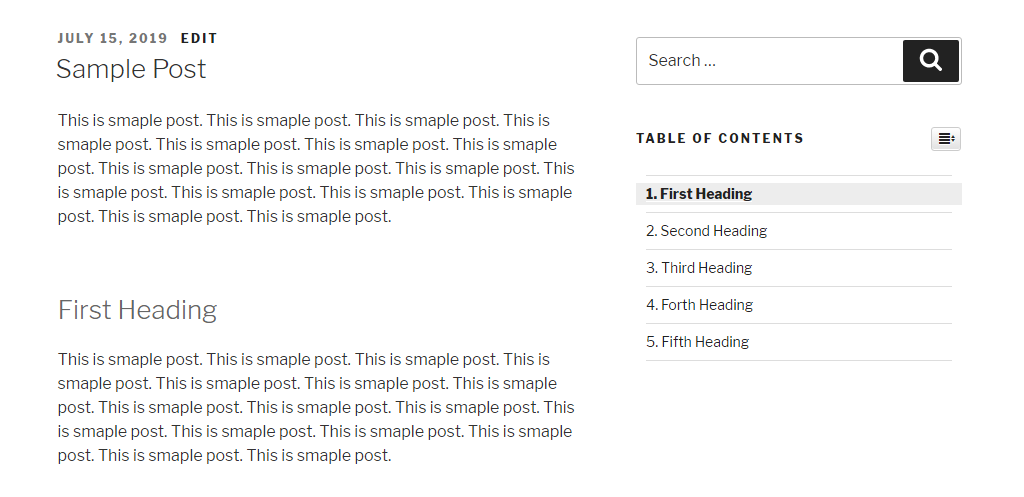
In addition, you are able to insert table of contents in sidebar. Navigate to Appearance > Widgets and add Table of Contents widget to Blog sidebar.

In widget settings, you are allowed to enter a header label and custom the highlight color for active items. Then click on Save button.
I hope this tutorial helped you learn how to add a table of contents to WordPress posts and pages. You may also want to see our step by step guide on how to add a countdown timer to WordPress.
0 Comments