WordPress is the number one content management system. This also means that a lot of people use it to power their site. It also means that it is bound to get spam comments on your site. That’s why, in this article, we are going to go through how to set up Akismet anti-spam plugin in WordPress.
As an owner, you should be able to stop the comments and protect your content and audience.
Akismet anti-spam plugin is a popular WordPress plugin with over 5+ million active installations. It also supports the latest WordPress version so that you do not have to worry about compatibility issues.
Before we learn how to set up Akismet anti-spam plugin, we need to learn more about the Akismet anti-spam plugin.
What is Akismet Anti-Spam Plugin?
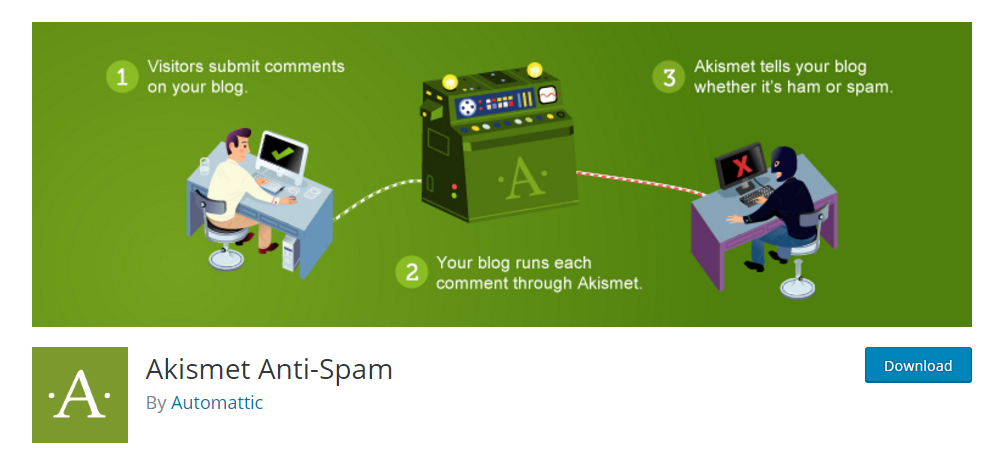
It is common for a WordPress site to get spammed. To protect it, you need to use an anti-spam plugin. The plugin will automatically identity spams and block them automatically so that you do not have to do the hard work.
Akismet is one of the popular anti-spam plugins. It is reliable and can be used with complete peace of mind.
It also comes with Contact Form 7 and JetPack which makes it easier to use for businesses. Moreover, it also offers good statistics so that you can learn how your site is holding up against spam.
Lastly, the price of the plugin is also affordable. If you are a business who wants to be 100% spam free, then you can get started with just $5 per site. If you have multiple websites, you can also choose $50 for unlimited sites per month package.
How to Set Up Akismet Anti-Spam Plugin in WordPress
Now that we have a good understanding of the Akismet anti-spam plugin, it is now time to learn how to set it up.
First, you need to download and install the plugin to your WordPress site.
The best way to install is to download it directly from your WordPress site.
Simply go to the WordPress dashboard and then go to Plugins > Add New.
Once you are there, you need to type Akismet Anti-Spam in the search bar.
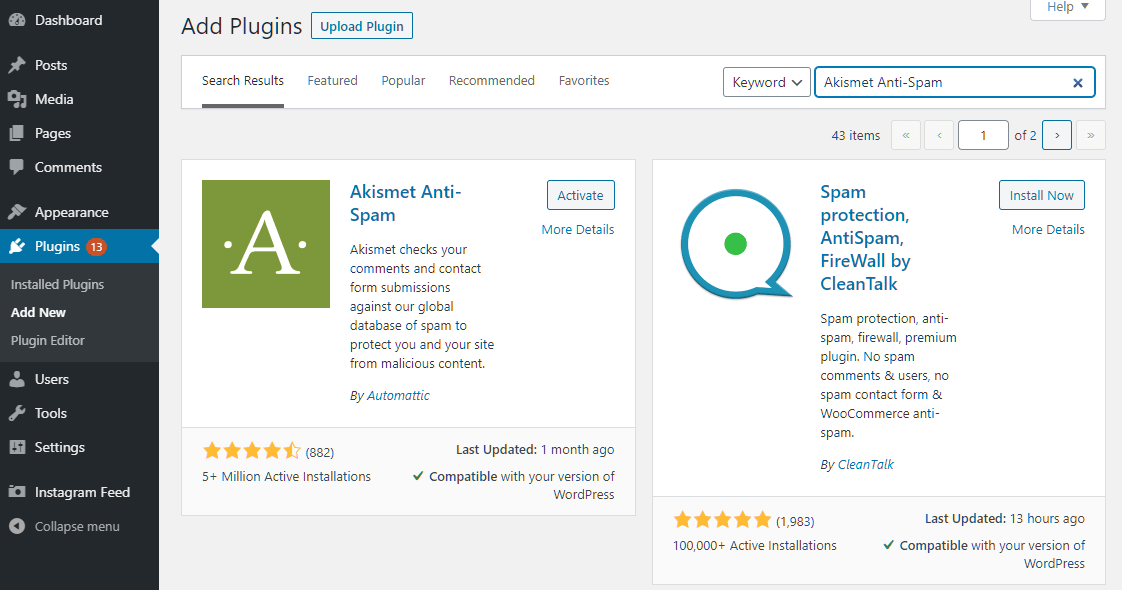
Click on Install and then Activate the plugin.
Once you do, you will be redirected to the Akismet dashboard as shown below. You can click on Set up Akismet account or manually enter an API key. If you already have the API key then you can start setting up with the plugin by entering the API key.
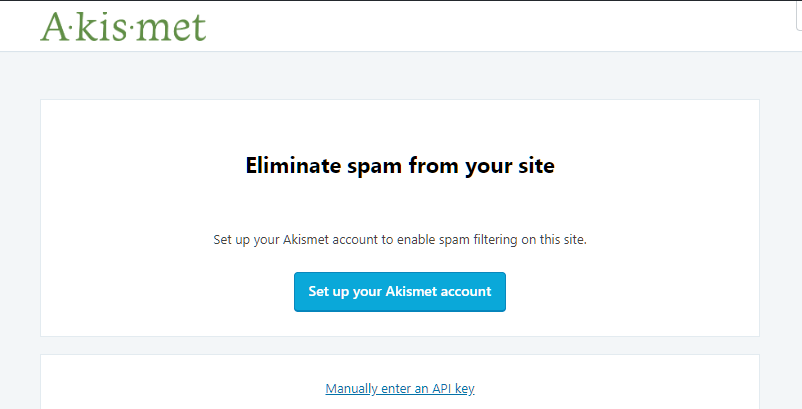
As you can see, you can need an API key to make it work.
That’s why let’s go through the process of getting the API Key first.
Click on Set up your Akismet account, which will take you to the Akismet site.
There, you need to click again on “Set Up Your Akismet Account.”
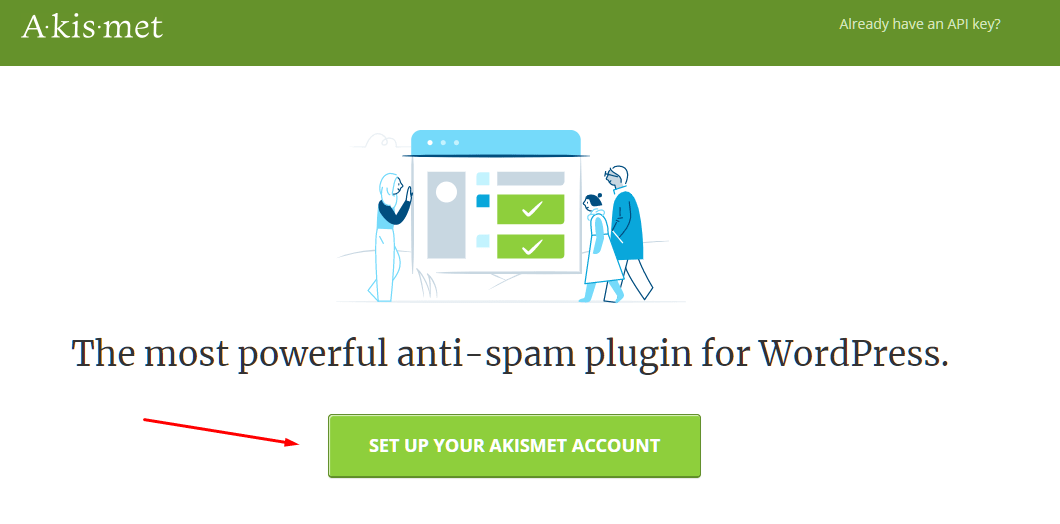
This will redirect you to their plans page. You can choose any of the plans as shown below.
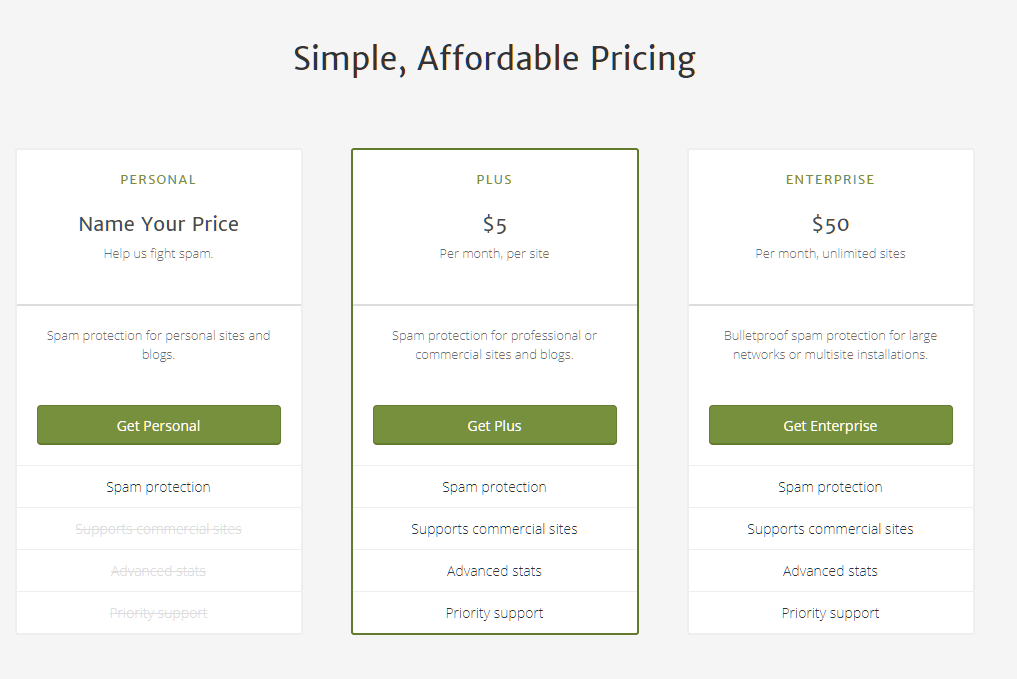
As you can see the paid plans have more features including commercial sites support, advanced stats, and priority support. If you are a beginner, then free plan will work for you!
Once you have chosen your plan, you can then enter your email address. If you want to use the free plan, then they will give you a non-commercial license.
After filling the fields, it will ask for confirmation code from your email.
Congratulations! You should receive the API key in your email.
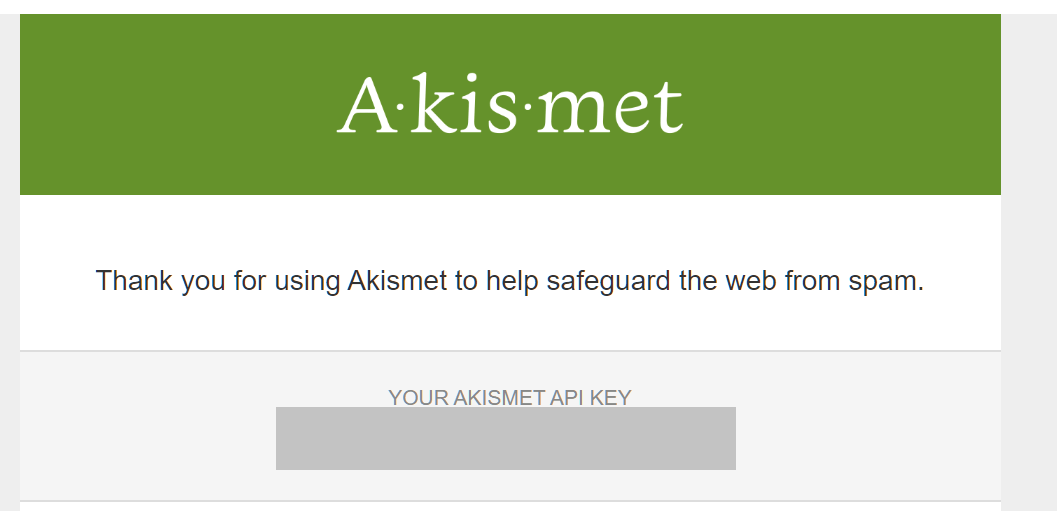
Simply copy the API key and enter it on your site.
This time click on Manually enter an API key and then copy-paste the key.
Once it is connected, you are ready to use the Akismet Anti-Spam plugin.
As you can see, this will redirect you to a small window of options. These options are as follows:
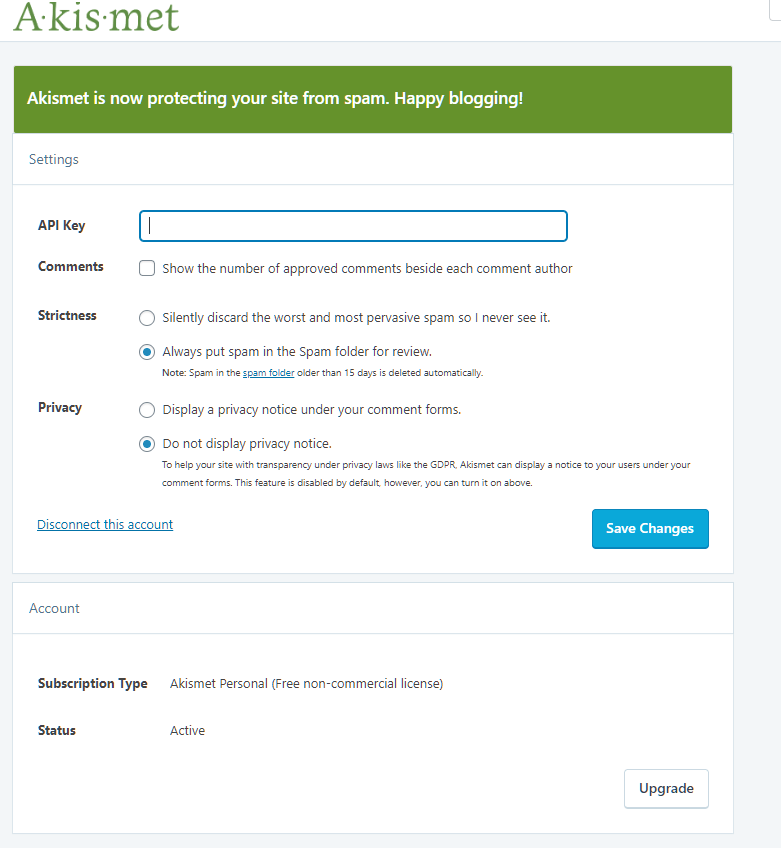
Here, you have the option to choose the number of approved comments beside the author’s name. This allows you to showcase the credibility of a user who actively contributes to your community.
You can also set up strictness. This option will have stricter rules for spam protection so that you don’t see them at all. If you select this option, it will automatically remove the spam without your review whatsoever.
The next option is to tell the plugin to put the spam in spam folder. If you select this option, then you will have the option to review the spam. This way you can actually manage the comments better if you think that Akismet anti-spam is not advanced enough to differentiate between the spam or genuine comment.
In the privacy option, you also get two choices. Here, you can put a privacy notice below the comments forms so that the user can know that an anti-spam solution is running.
The other option is to disable the privacy notice. However, you should be wary of this option as it goes against the GDPR privacy law.
Once you have made the changes, you can now click on “Save Changes”.
The plugin is now active and ready to use!
Conclusion
This leads us to the end of our tutorial on how to set up Akismet anti-spam plugin in WordPress.
The plugin is simple to use. All you need to do is generate an API key and then use it on your site. Remember, the free version is for non-commercial purposes only.
So, what do you think about the Akismet anti-spam plugin? Comment below and let us know.
You may also want to see our in-depth step by step guide on how to add two-factor authentication in WordPress.
0 Comments