Do you want to create a multilingual WordPress site? If you do, then you have come to the right place. In this article, we will show you how to create a multilingual WordPress site. To make the whole process smoother and easier, we will be using the Polylang plugin.
But, before we start, do we need to learn why we need to create a website that supports multiple languages?
By creating a website with multiple language support, you can cater your site’s content to the local audience of different parts of the world. This enables you to directly connect with them without the need to completely restructure or redesign your site.
As of creating multi language sites, there are many ways you can create them. However, not every solution is worth the time and effort.
What is a Multilingual WordPress Website?
A WordPress site is said to be a multilingual site when it is able to serve the content in different languages using the same content. It automatically redirects the site to the language based on the region. Moreover, the user can also select their preferred language using a drop-down menu that is located either at the top menu or the sidebar of the website.
To create a multilingual WordPress site, you can choose to manually translate the content into multiple languages. This is done using human translators.
Another very popular method is to use auto-translate services. However, the translation might not be 100% accurate. That’s why it is always a good idea to go with manual translation.
Finding the Right WordPress Multilingual Plugin
Choosing the right WordPress multilingual plugin is important as choosing the wrong plugin means more work from your side. The main aim is to choose the right plugin for your requirement which will make things easier for you.
There are many popular plugins you can choose from. We recommend using the following:
However, in this article, we are going to use the Polylang to showcase how to create a multilingual WordPress site.
Let’s get started.
How to Create a Multilingual WordPress Site
Before, we start, let’s learn about Polylang.
Polylang is a popular and free-to-use WordPress multilingual plugin. It also comes with a PRO version where you can buy custom packs for different types of websites. For example, if you are running a WooCommerce site, then you can download their WooCommerce addon for it. They also offer a complete buy where you get access to different add ons including WooCommerce and Business.
Their PRO version starts from 99 £ at the time of we are writing this article.
Apart from that, their free version comes with tons of features including the following:
- Supports as many languages as you want.
- Offers RLT language support so that you can update or add languages easily
- Offers custom taxonomies, post types, and more!
- Comes with a customizable language switcher
Currently, the free version of the plugin has over 500K+ active installations.
Now, that we have a good idea of what Polylang has to offer, let’s get started with the process of installing and using it to create a multilingual WordPress site.
First, you need to install the plugin.
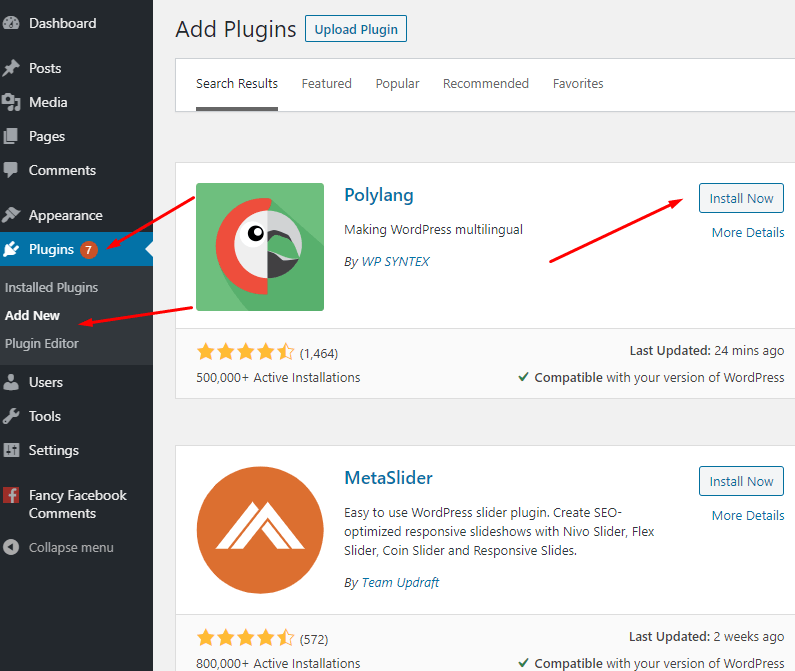
To do so, simply go to your WordPress admin dashboard, and from there choose Plugins > Add New.
Now search for Polylang. From there, install and activate it.
Check out the image below to get an idea of how to do it.
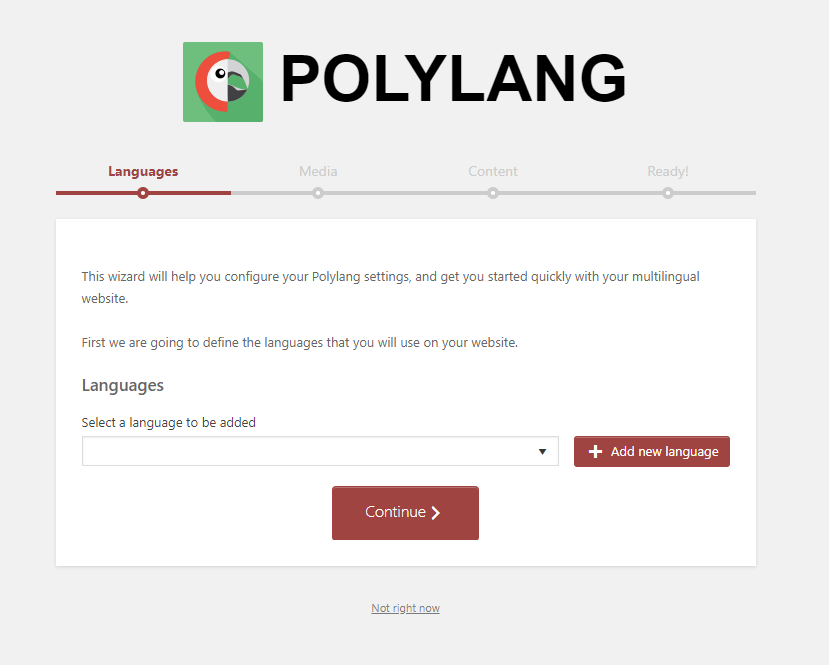
Once you installed and activated the plugin, you will be redirected to the plugin wizard.
The wizard will help you get started with Polylang and set it properly for your site.
At first, you need to choose the languages you want your multilingual site to support.
Next, it will ask if you want to auto-translate the media’s attached-text. This means that you can translate information such as alternative text, title, description, and caption. It will translate all of these automatically.
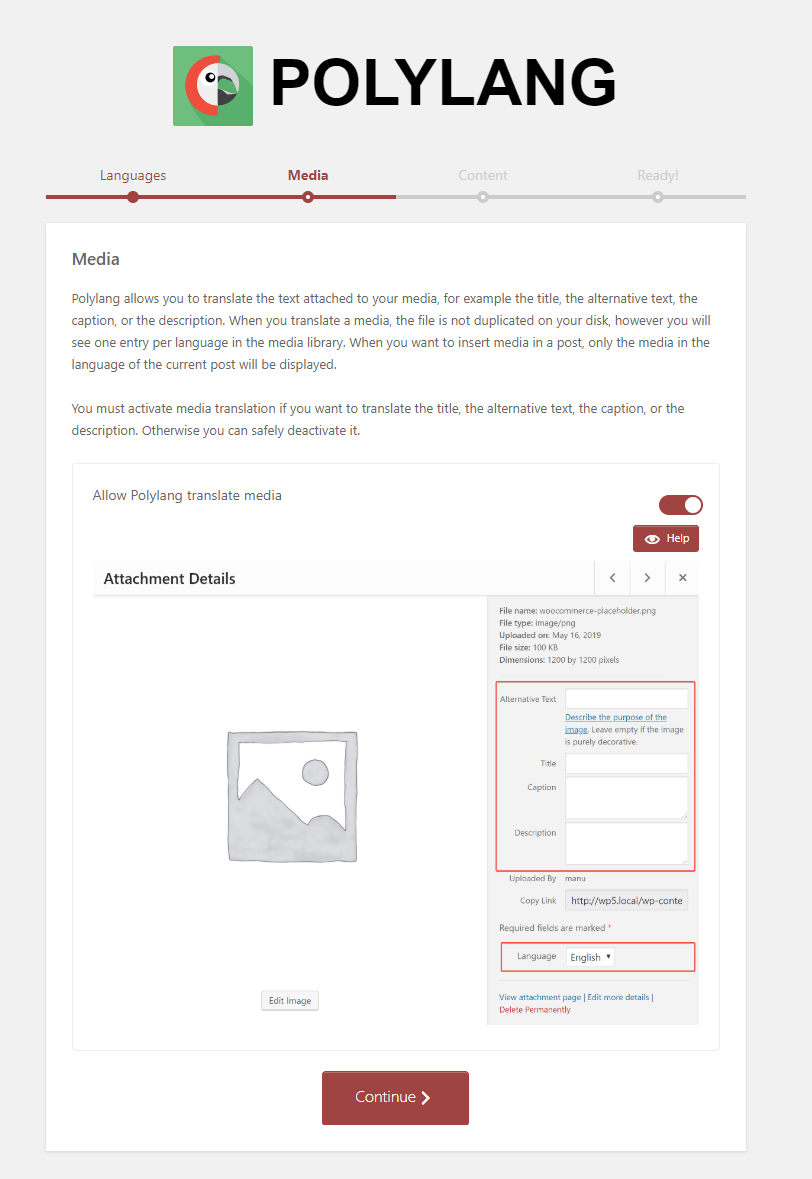
Once you enabled this option, the plugin will translate the image’s text fields accordingly. Now, that’s done, you can click on Continue to move to the next step, ‘Content’.
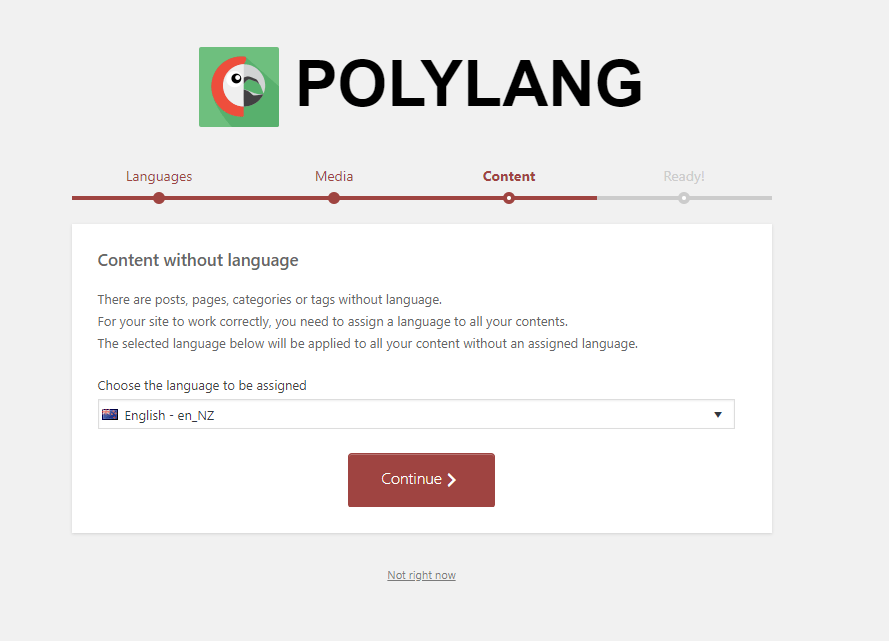
Here, you need to set one language for your posts, pages, categories, and tags. This will act as the default language for the content where there is no assigned language.
Now, your site should be ready for utilization. You can also create menus and translate specific pages on your site which we will go through below.
To access the plugin features, you need to go to Languages > Languages as shown below.
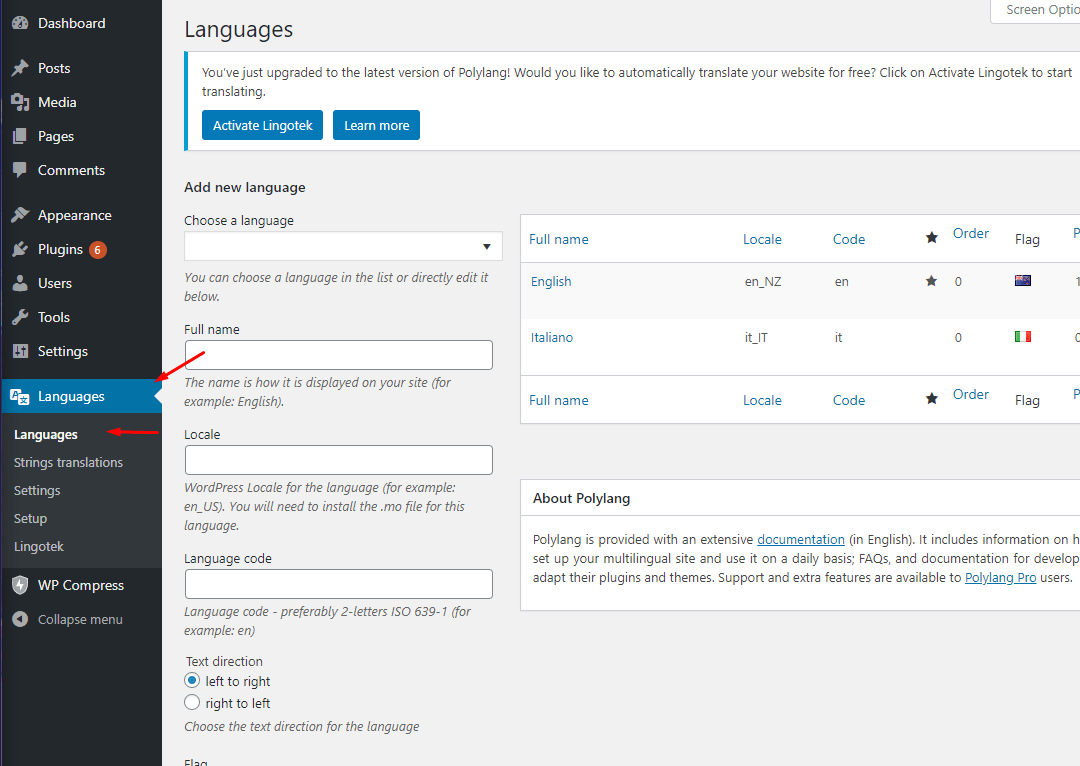
Here, you can remove or add languages according to your requirements.
Once you have added a new language, you now need to go to Strings translations where you can add and translate different site information including title, description, and so on!
Another useful section that you should check is the Settings page where you can set different settings including URLs for languages, SEO friendly URLs, and so on!
Using Polylang to Translate Content
Once everything is ready, you can use Polylang to translate content on your site. To do so, you need can either edit an existing page or create a new post/page option.
Once done, you will see a language meta box on that page. From there, you can choose the language in which you want to showcase it.
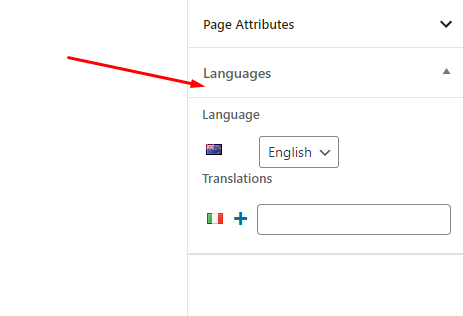
The default language is already set and you can add translations below.
Similarly, you can translate tags, categories, and custom taxonomies.
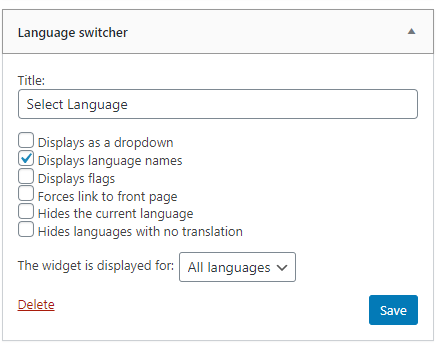
The final step is to display the language switcher on your site. To do so, you need to go to Appearance > Widgets and then use the language switcher widget.
That’s it!
Congratulations, you have finally created a multilingual WordPress site.
Conclusion
This leads us to the end of our tutorial on how to create a multilingual WordPress site.
We used Polylang to set up the site. However, most of the work is adding the translations itself. You can choose to use auto-translators to make your work easy. But, if you are serious, then you must hire a translator to do the job for you!
So, what do you think about it? Comment below and let us know.
You may also want to see our step by step guide on how to add a booking system in WordPress.
0 Comments