Vultr is one of the most popular cloud server providers. Because it offers economic cloud servers with a high performance, it can meet any demands for beginners. This article will walk you though how to deploy a Vultr VPS.
How to deploy Vultr VPS
Log in Vultr
First, go to Vultr home page, and log in or create an account if you don’t have one.

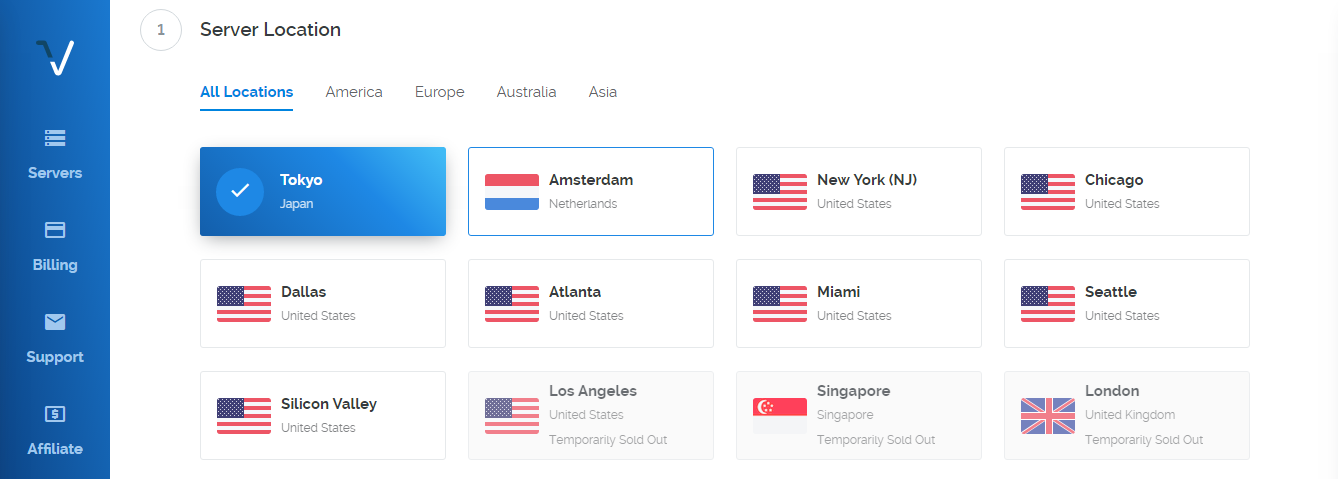
Select a server location
There are multiple server locations available. It is recommended to pick the closest server center from your audience, which increases your website performance.

Pick a server type
Select an operating system (OS) depending on your need. Click the OS icon such as Debian, CentOS and Ubuntu. There is a drop-down list appears, select the preferable version from the list.

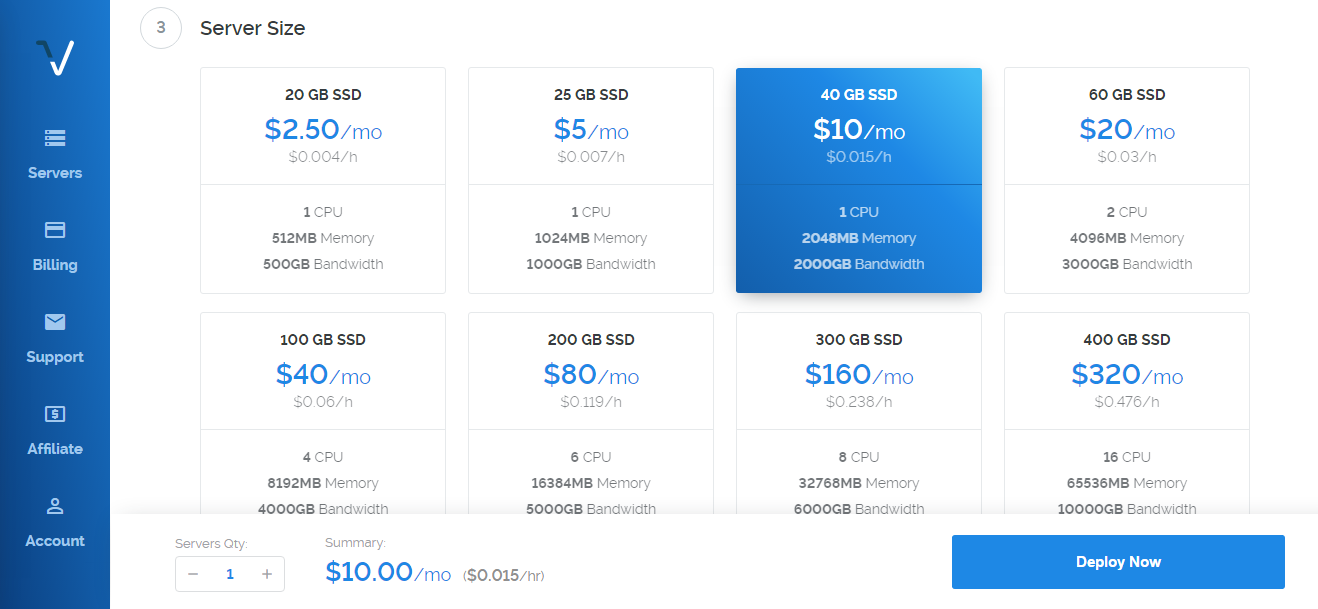
Choose a server size
There are various server size and pick the preferable on depending on your need. Additional features, startup script, SSH keys and server hostname & label can be set up later. At last, click Deploy now button at the bottom right corner.

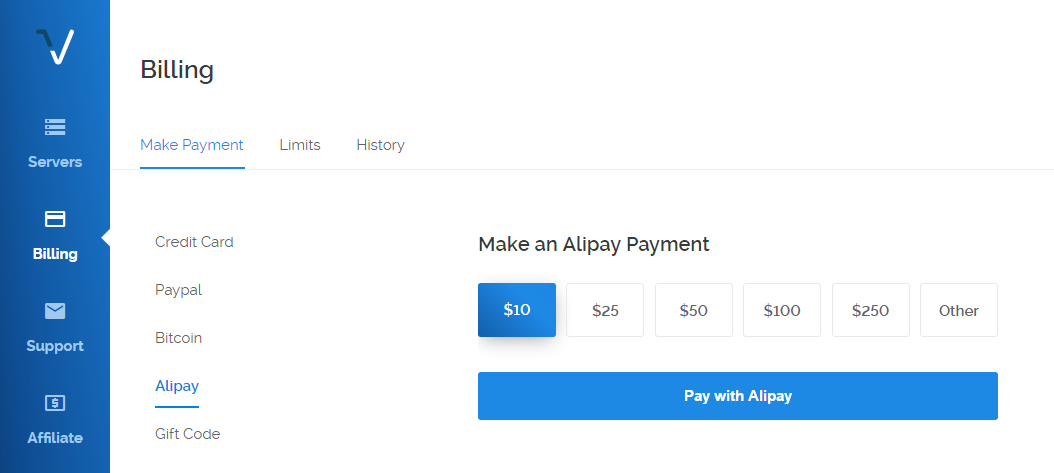
Make a payment
Clicking Deploy now button takes you to billing interface. Vultr supports four payment methods including credit cards, Paypal, bitcoin and Alipay. Pick the preferable one and pay for the server. In addtion, there is a option called gift code, if you have one, fill it out, which will save you some pennies.

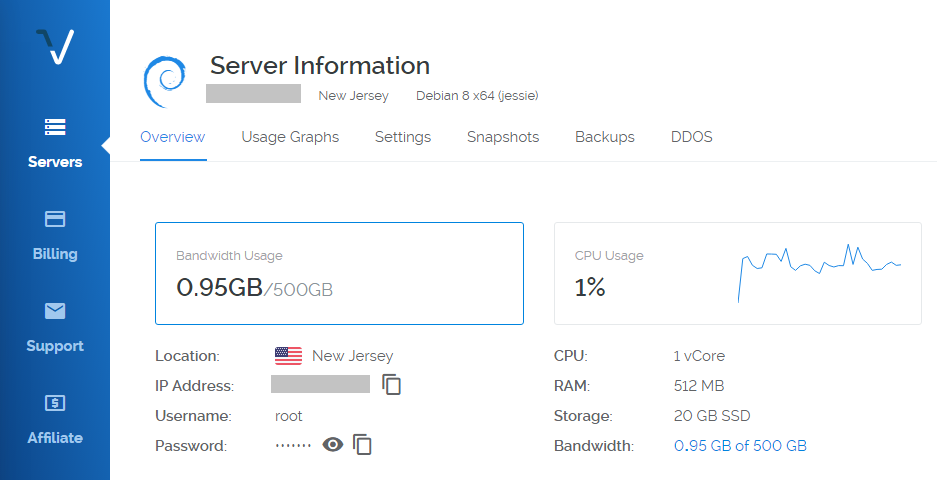
Once you pay for the server, you will recieve a mail of the deployed server information from Vultr. Then click server option at the left side menu to check the server information as well.

That’s it, it is easy to set up Vultr VPS.
We hope this article helped you learn how to deploy Vultr VPS with right way. You may also want to see our tutorial for how to install WordPress.
0 Comments